Side view of meditating woman sitting in pose of lotus against clear sky outdoors

5 Yoga poses that will benefit athletes of all levels.

Improve your athletic performance (and prevent injuries).

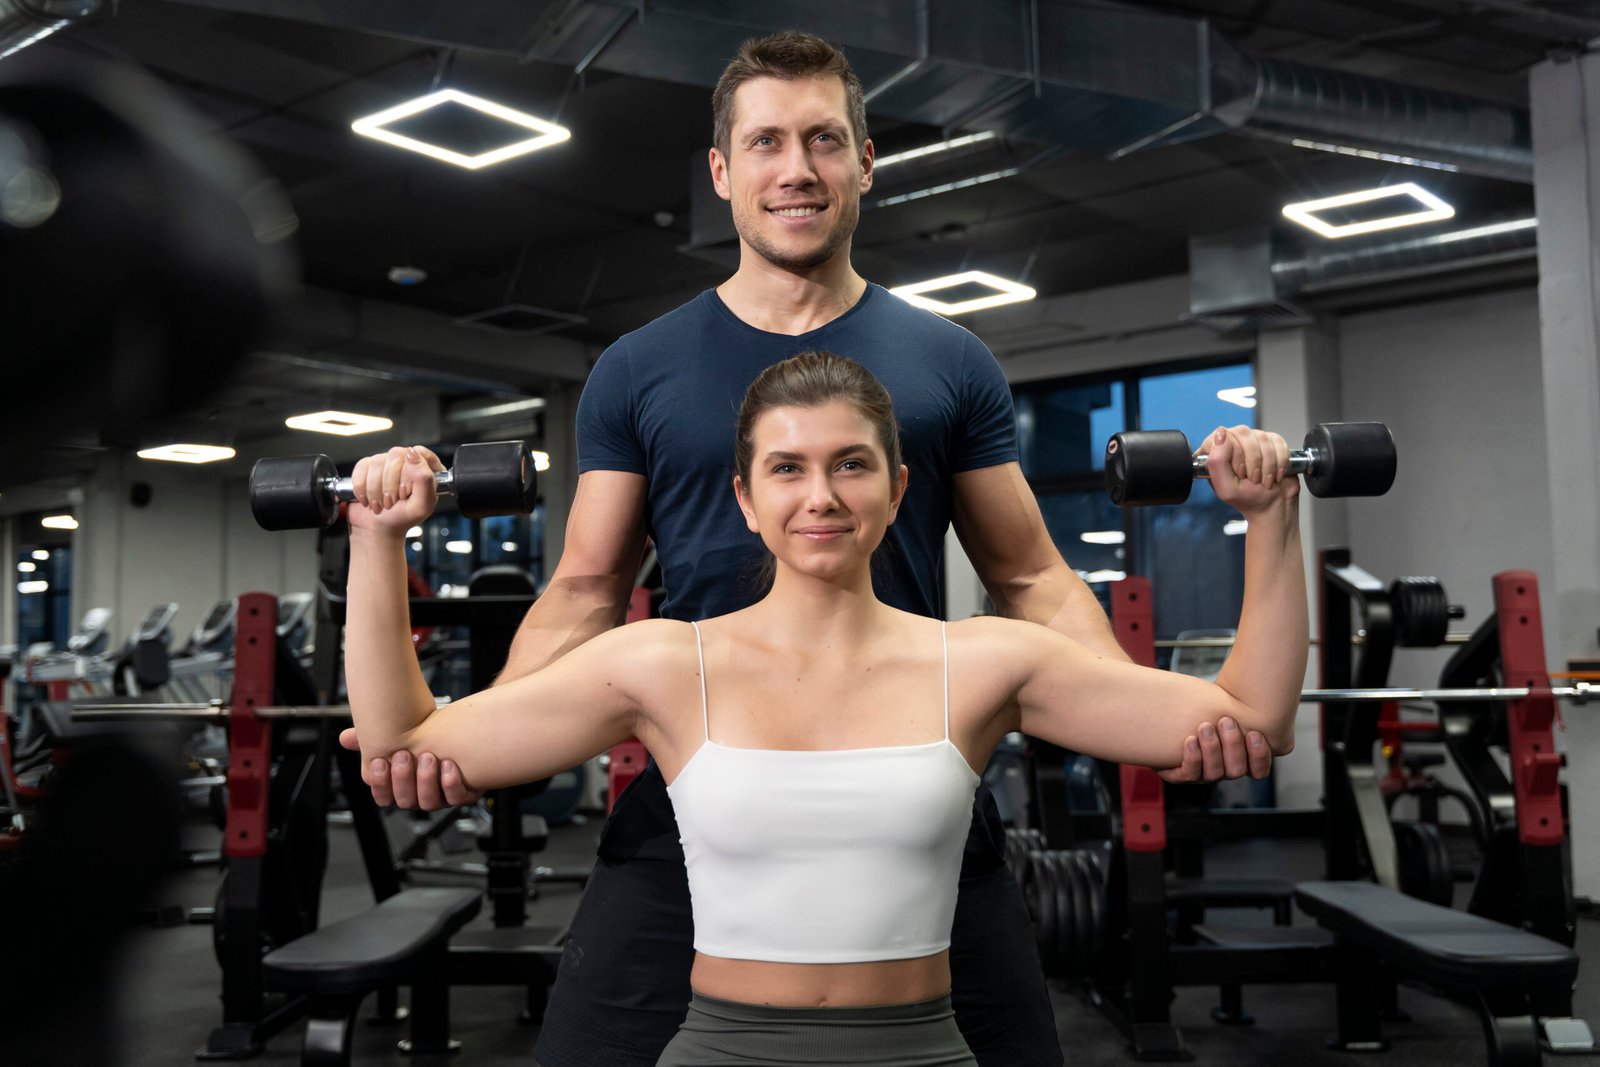
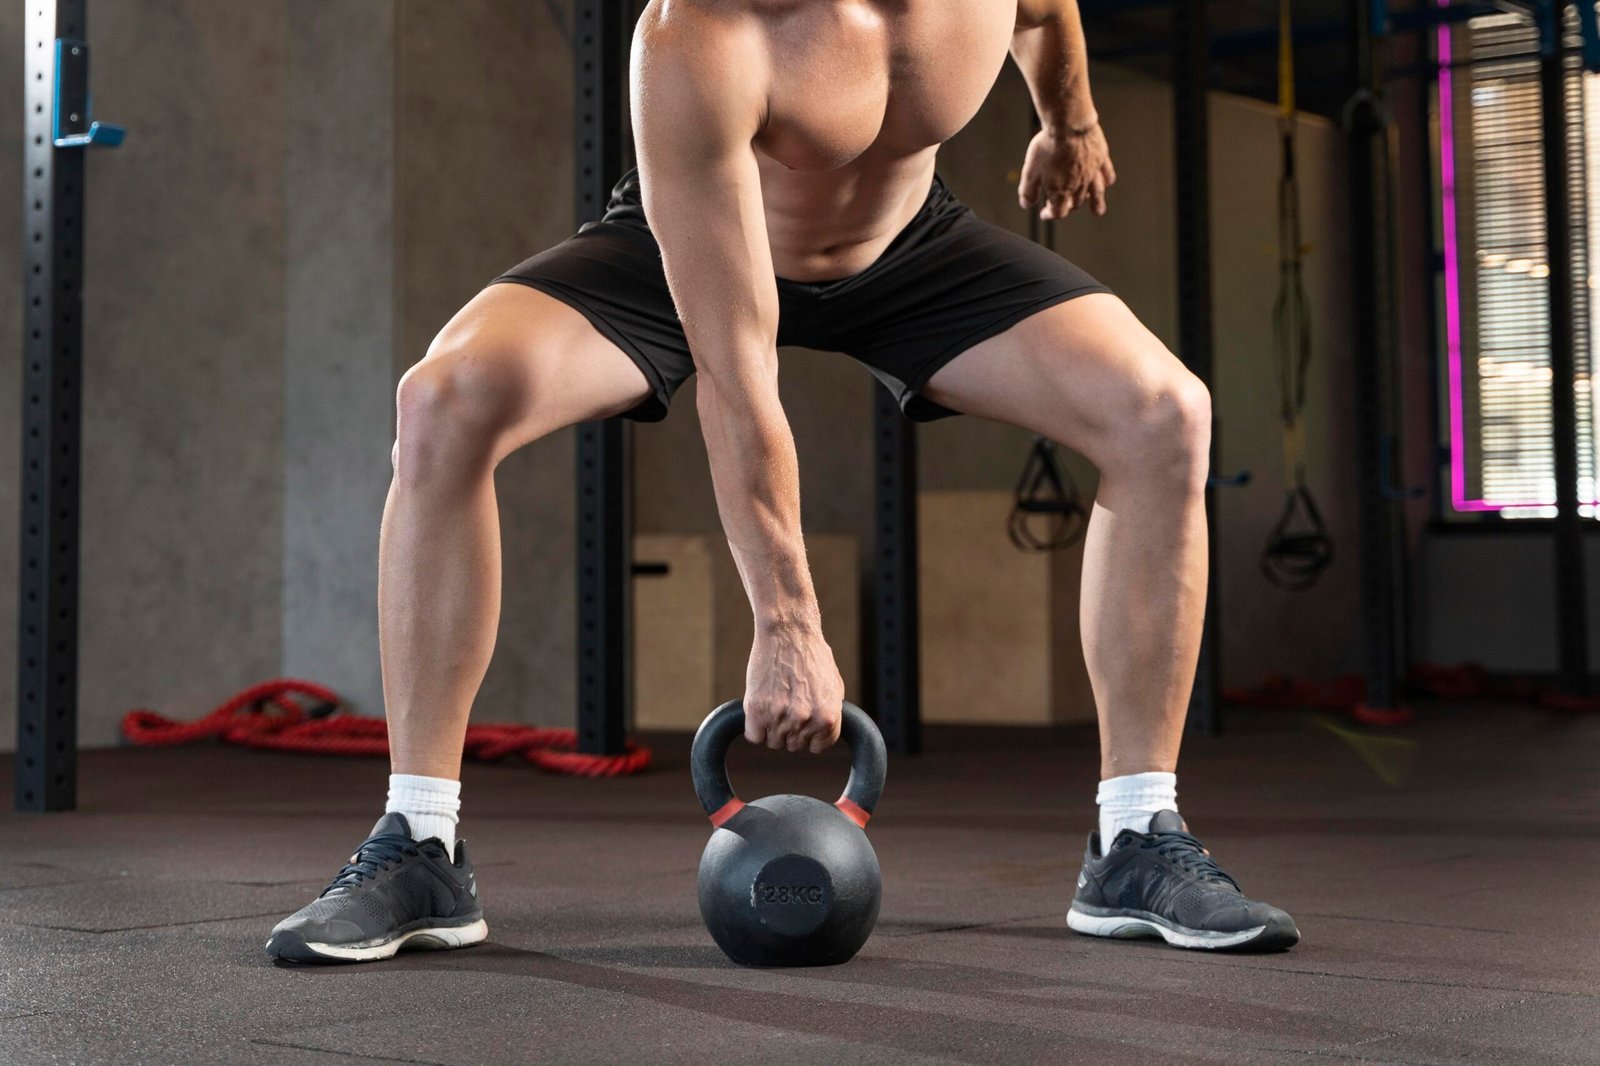
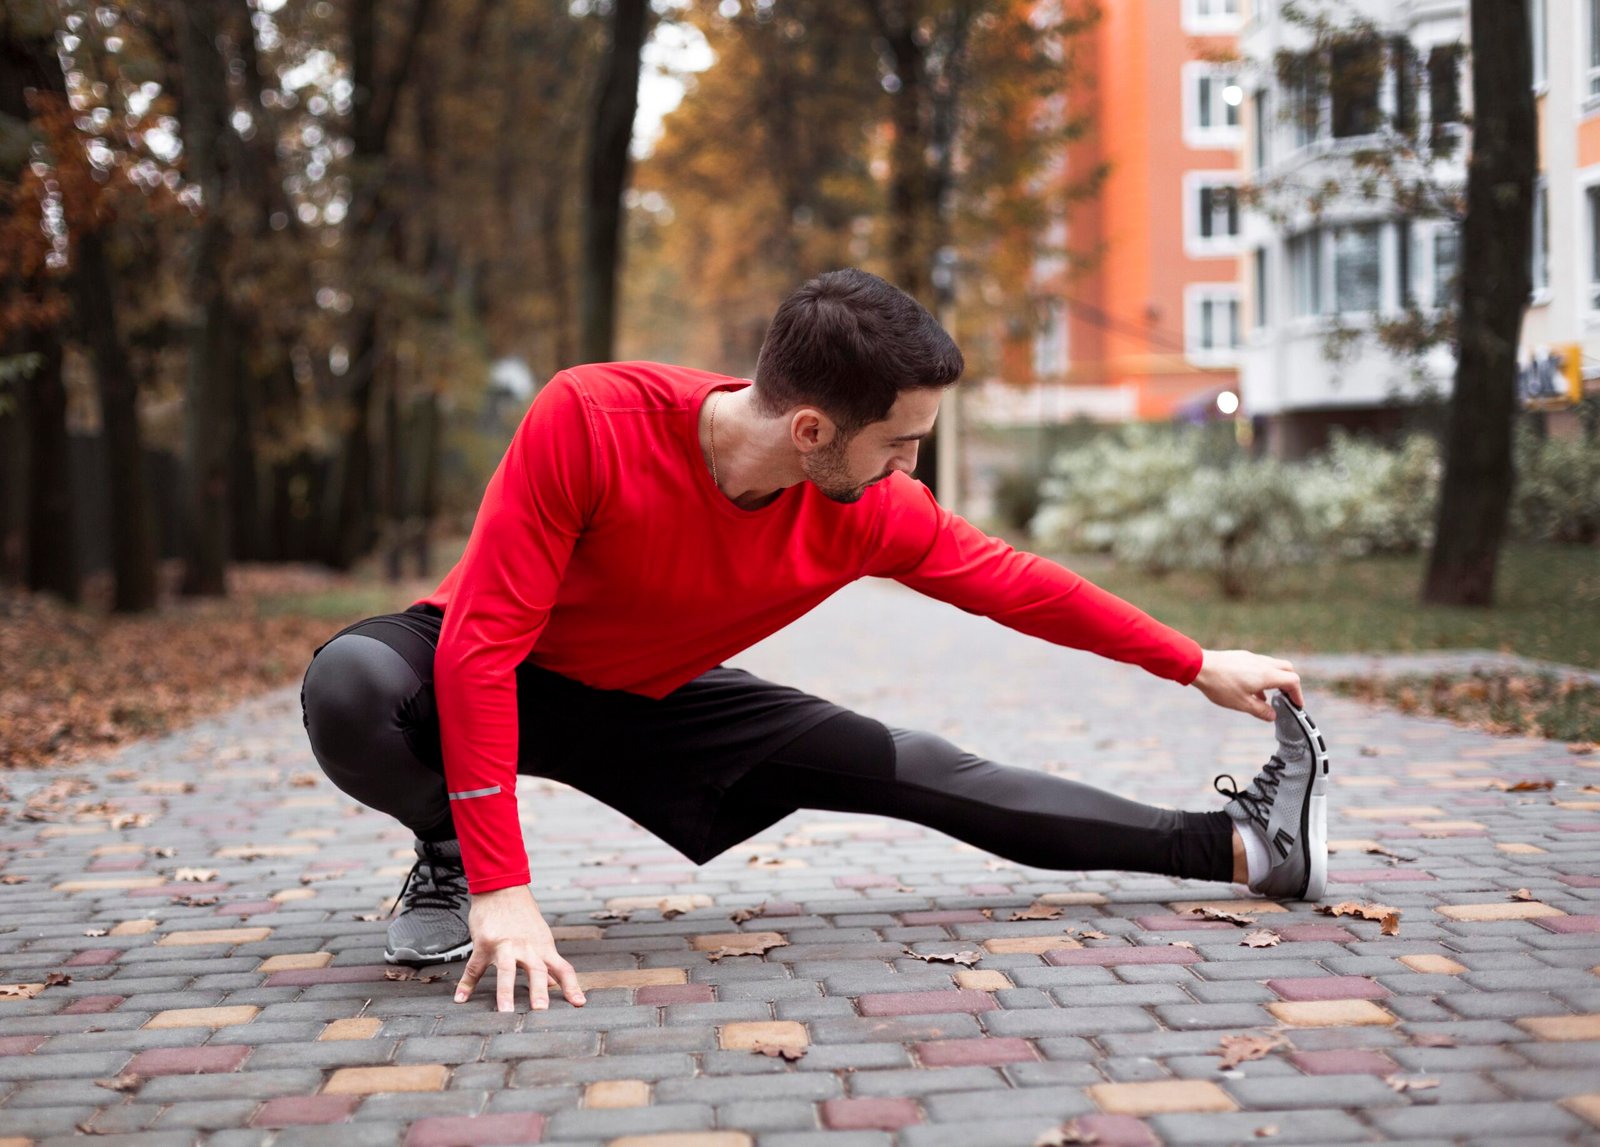
Yoga not only increases flexibility, but it also strengthens and relaxes the mind. For these reasons, it’s no surprise that athletes are increasingly incorporating yoga into their training. Many renowned athletes, including NBA stars LeBron James and Kevin Love, as well as Seattle Seahawks quarterback Russell Wilson, have openly stated that yoga has helped them maintain physical and mental health and focus.

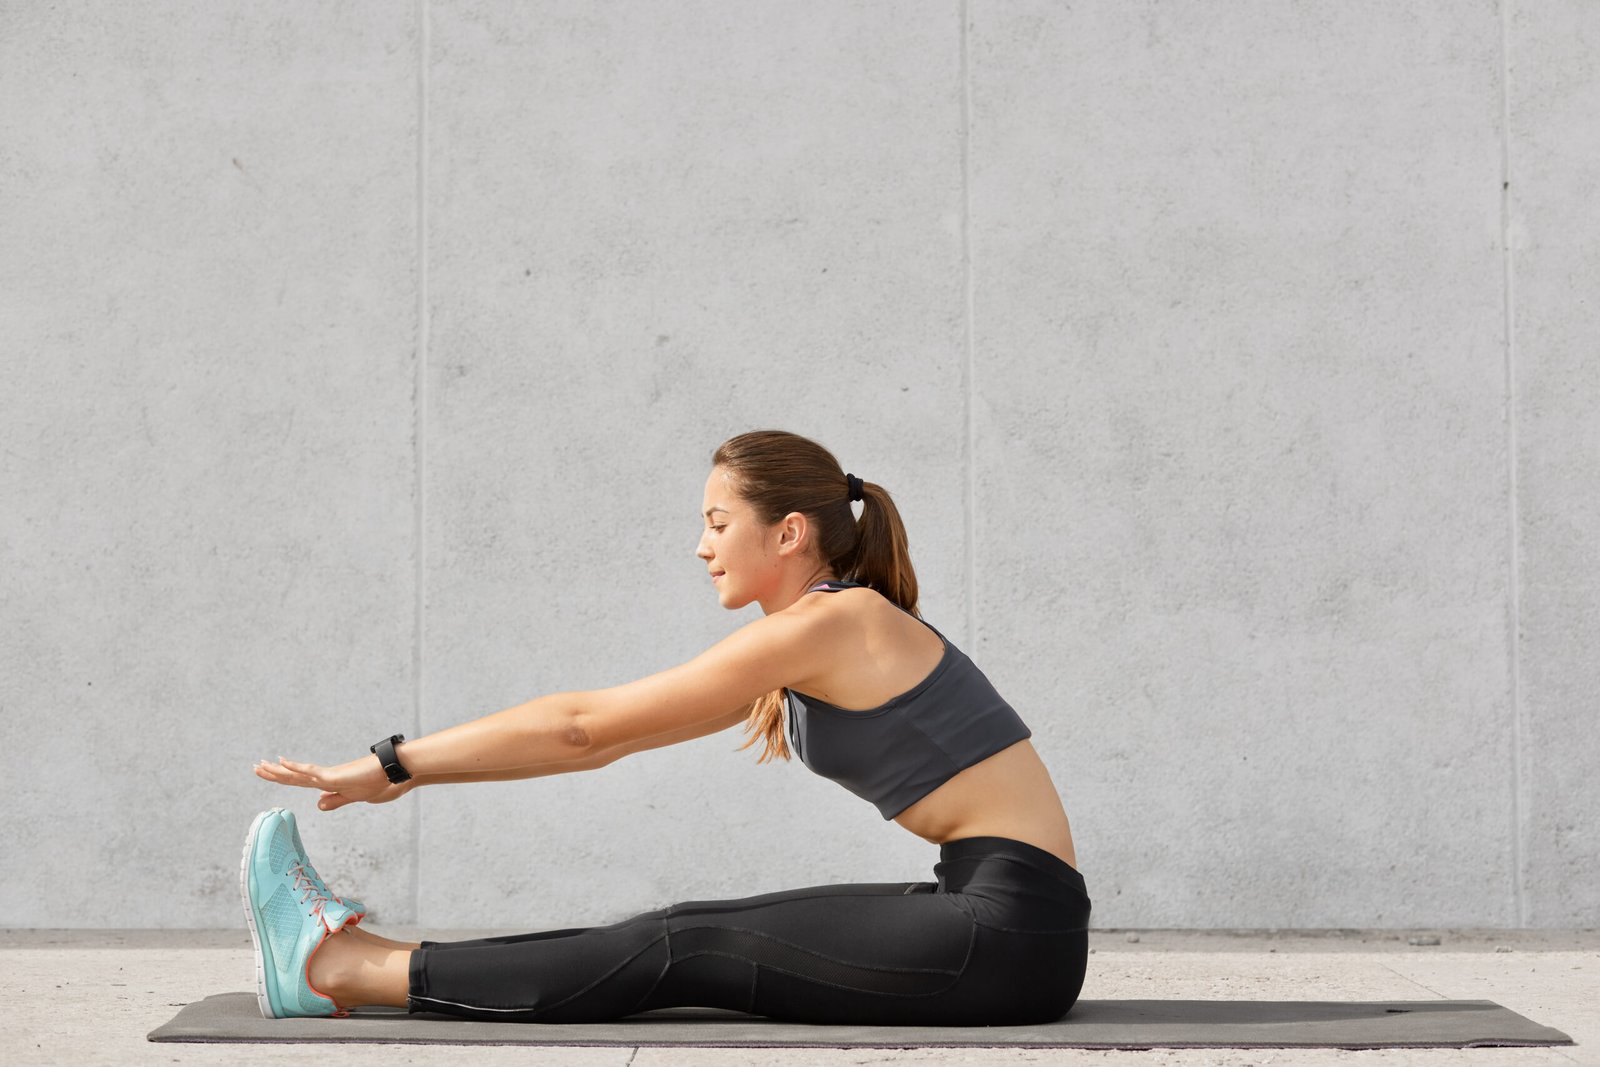
Here are five yoga poses for athletes who want to improve flexibility, core strength, and mental focus.

1. Downward Facing Dog

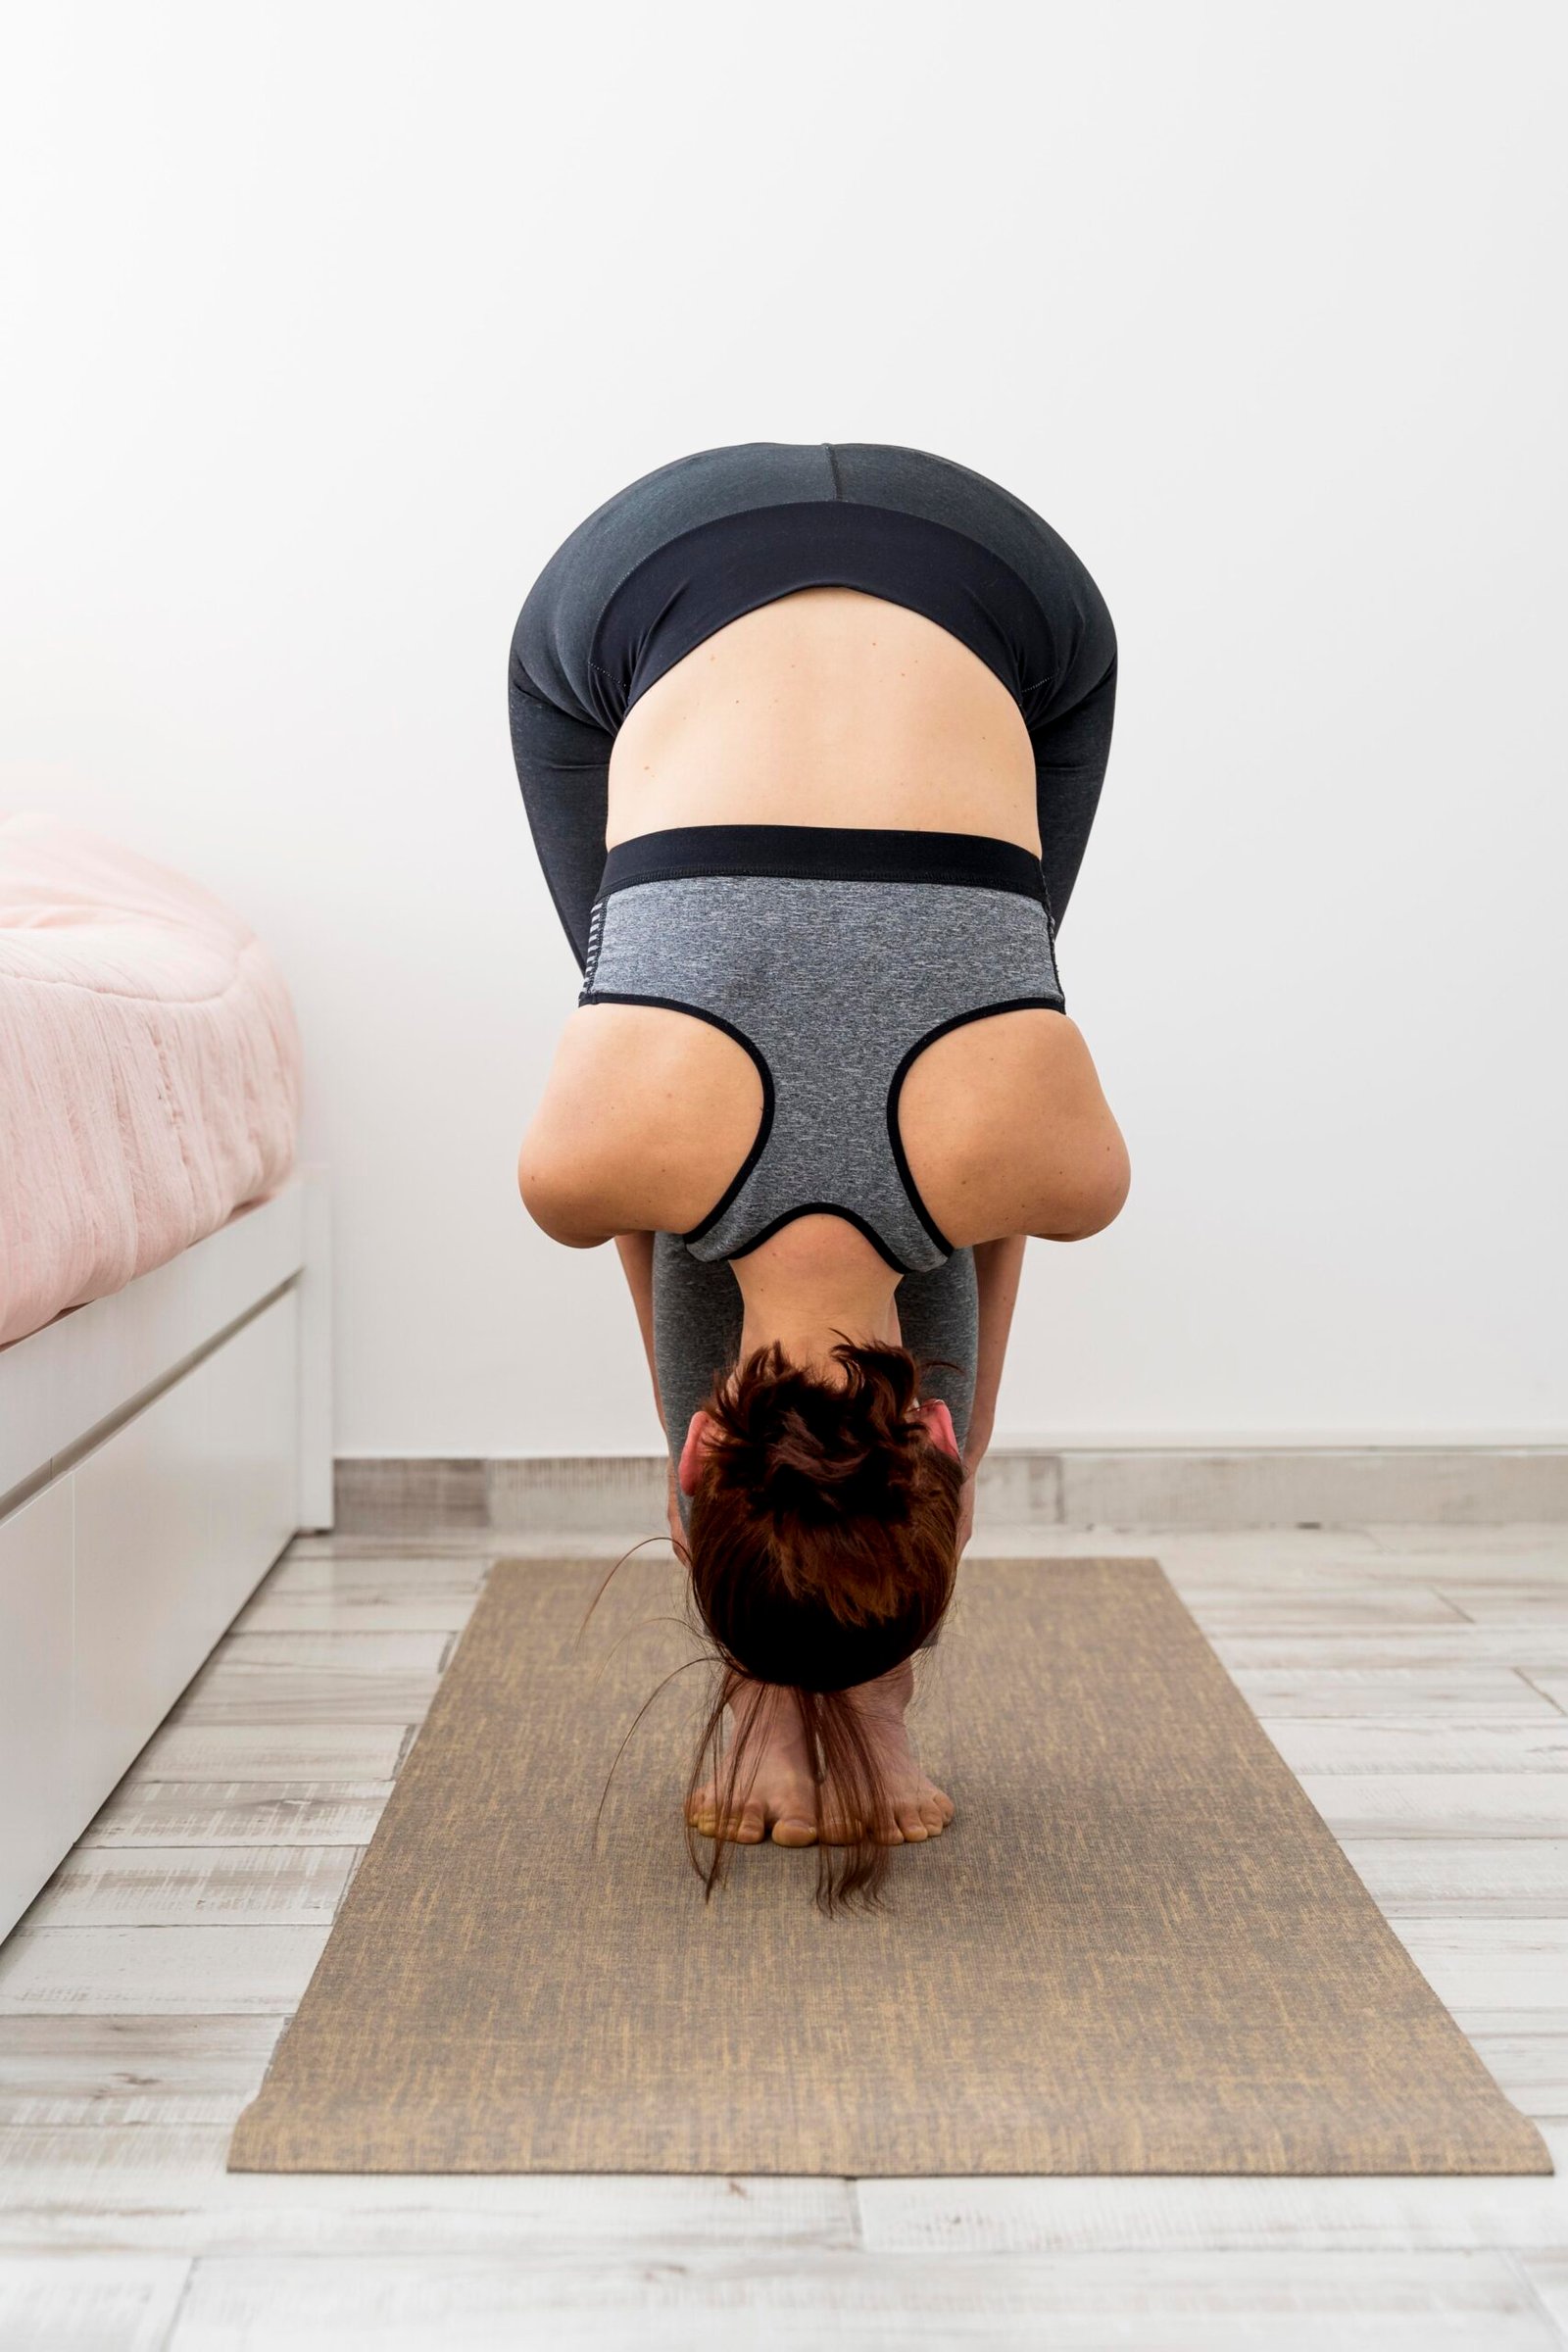
This is a powerful position because it stretches and strengthens the body in multiple ways. Stretching the calves, hamstrings, and lower-back muscles helps to strengthen the shoulders and arms. Athletes with tight hamstrings or stiff shoulders may struggle to feel comfortable in the posture at first, but with repetition, the body will adjust and may even learn to want it.

Begin on hands and knees, with the hands under the shoulders and the knees beneath the hips. Walk the hands one hand length ahead, tuck your toes under, and raise your hips into the air. Consider where your weight shifts. Maintain a small bend in the knees while working to lift the tailbone toward the sky.

Root down with all ten fingers and press the floor away. Draw the shoulder blades down the back, away from the ears. Hold for three to five breaths, then return to hands and knees.

2. Side Angle

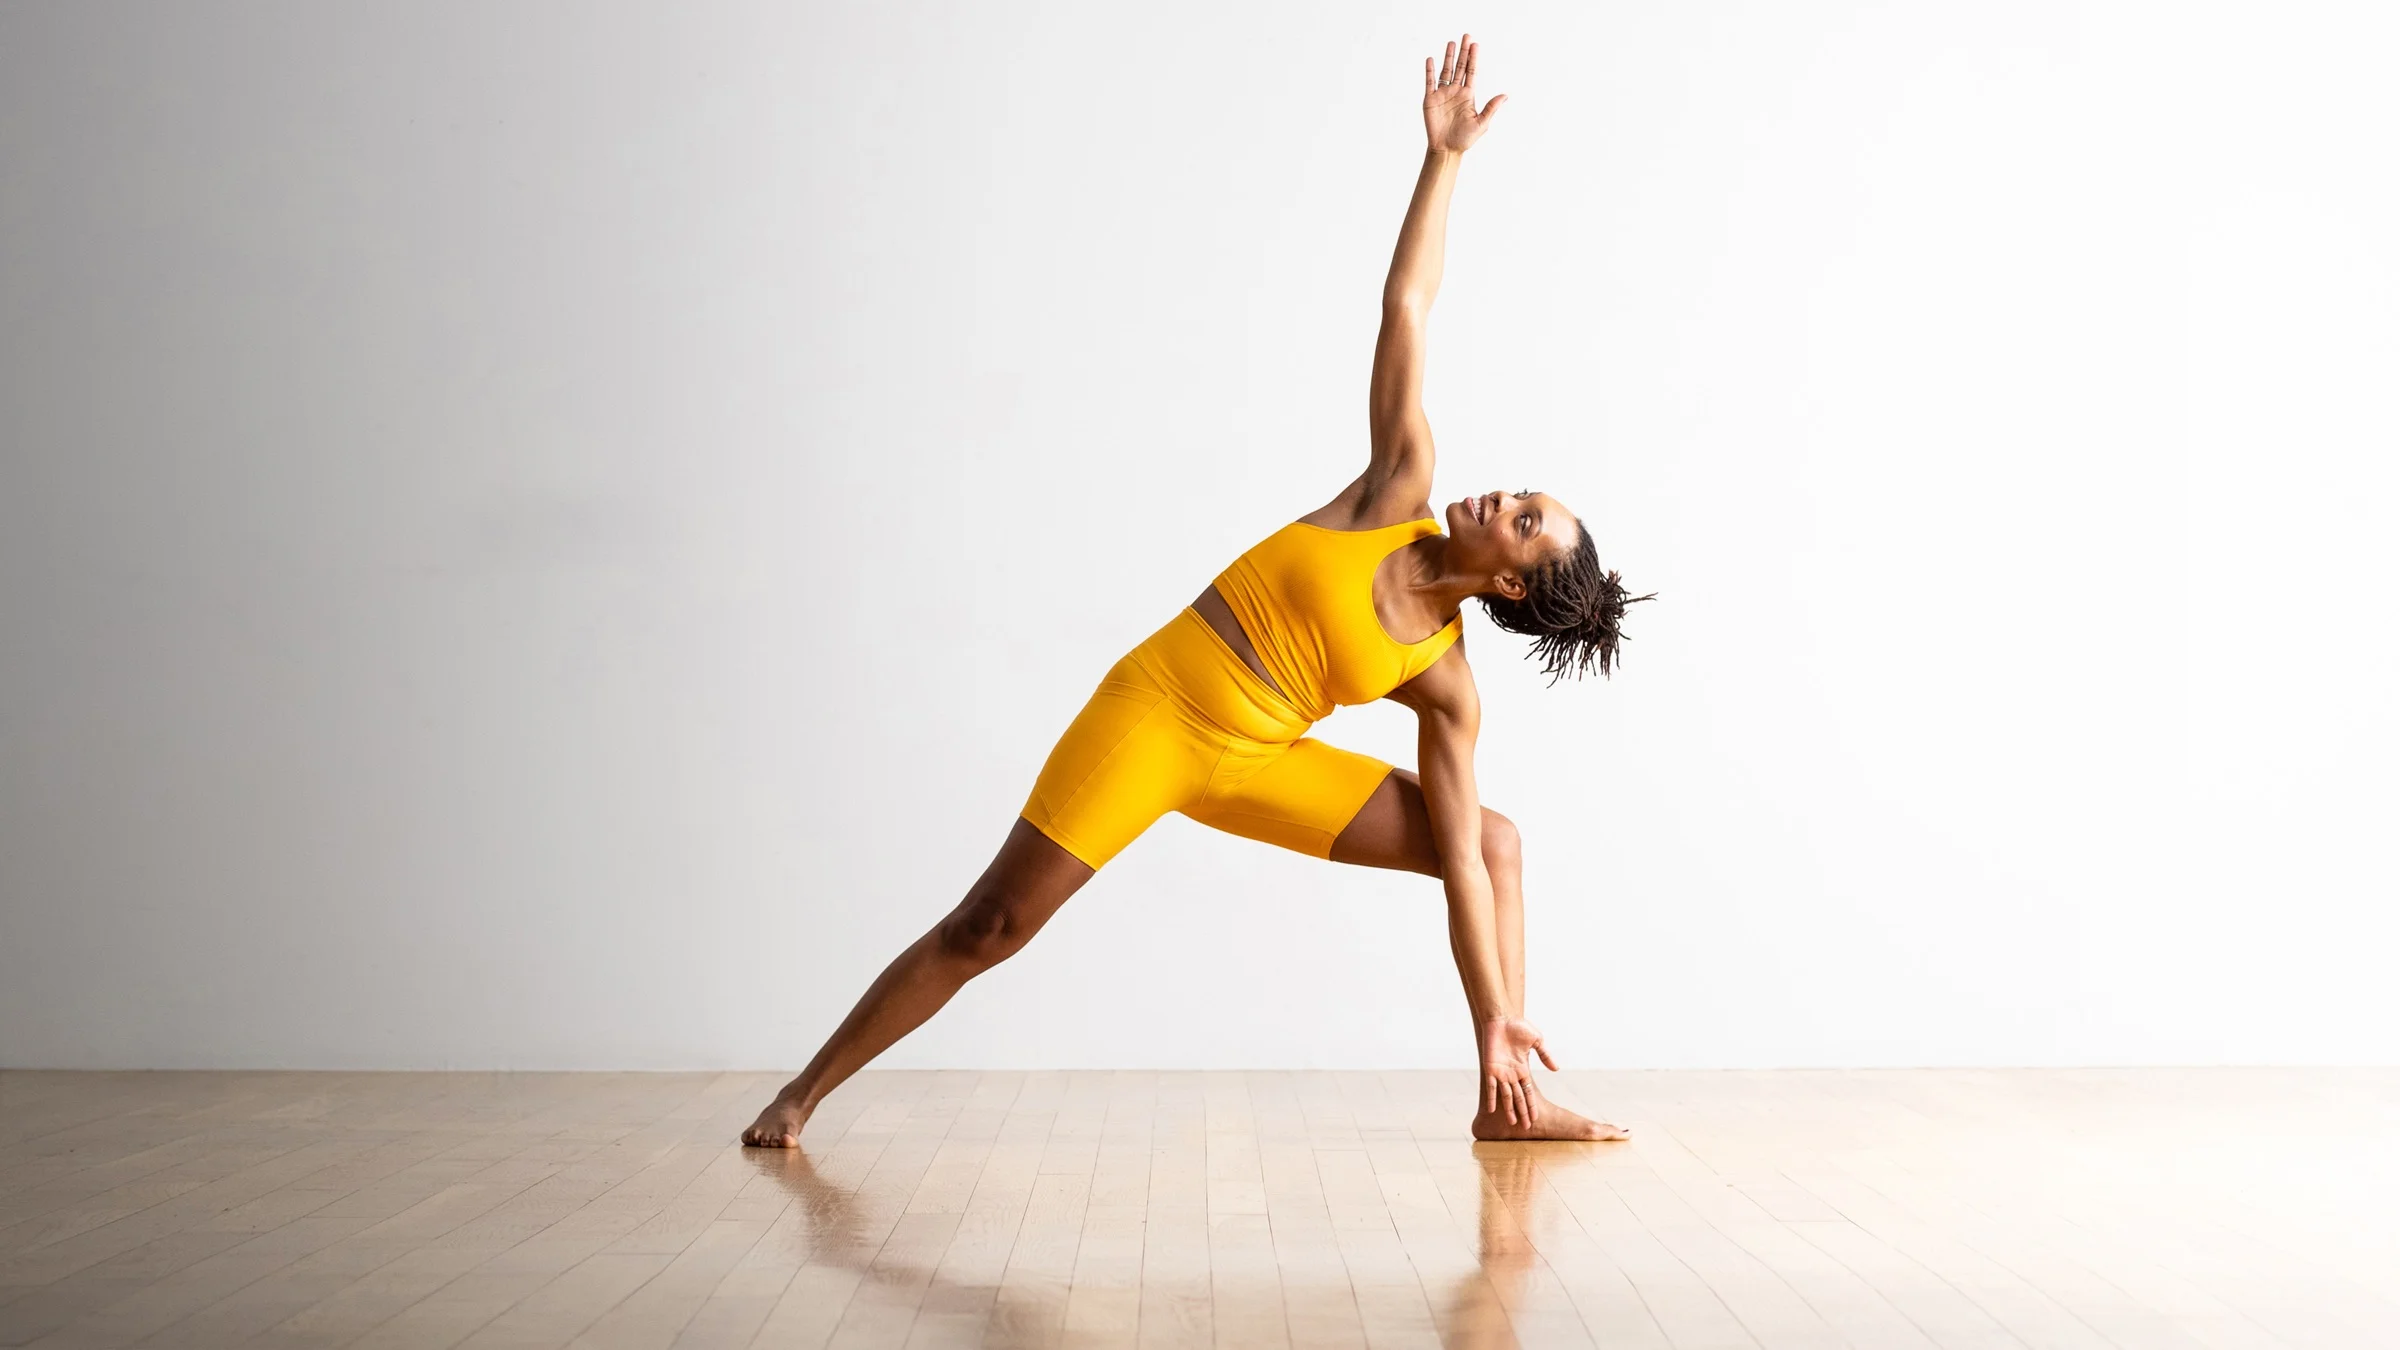
This pose stretches and strengthens the legs and hips, improves balance, and increases focus.

Step back into a wide stance with your left foot from a standing position. Plant your entire left foot on the floor at about a 45-degree angle. Bend the right knee and keep it in line with the ankle. Lift the right forearm to the top of the right thigh. Stretch the left arm toward the sky while sinking the hips downward. Lift the chest, rolling the ribs and left hip up. Hold for three to five breaths before switching sides.
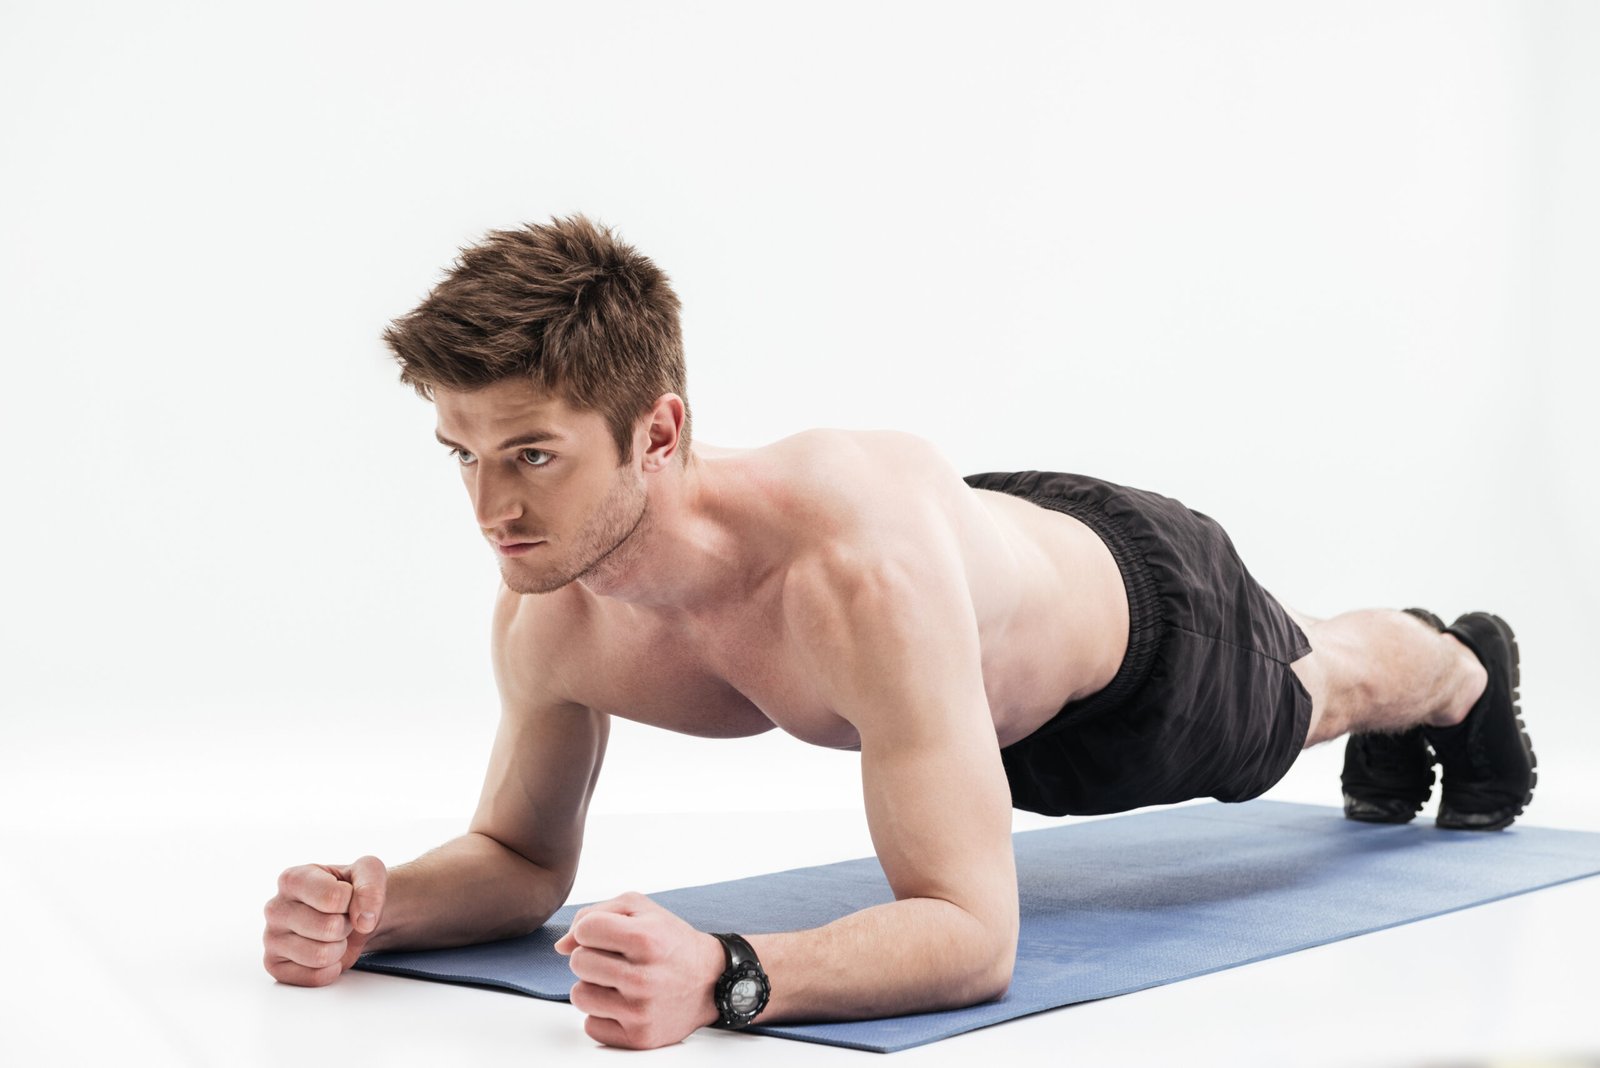
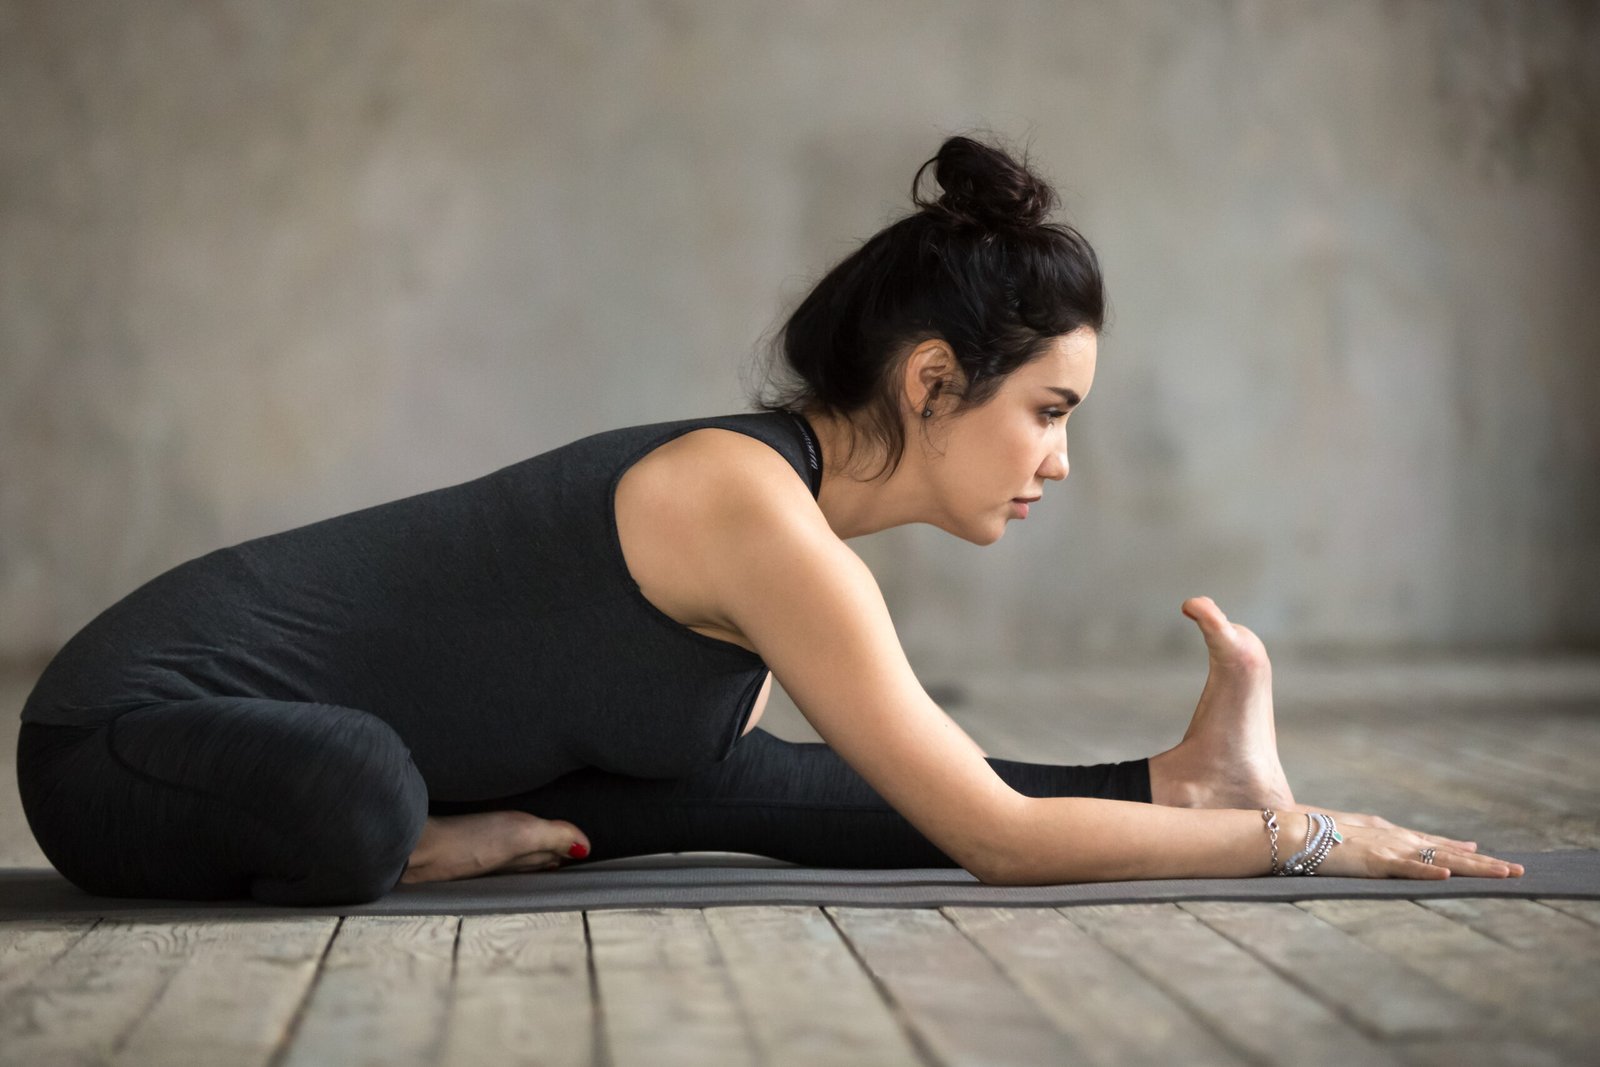
3. Boat

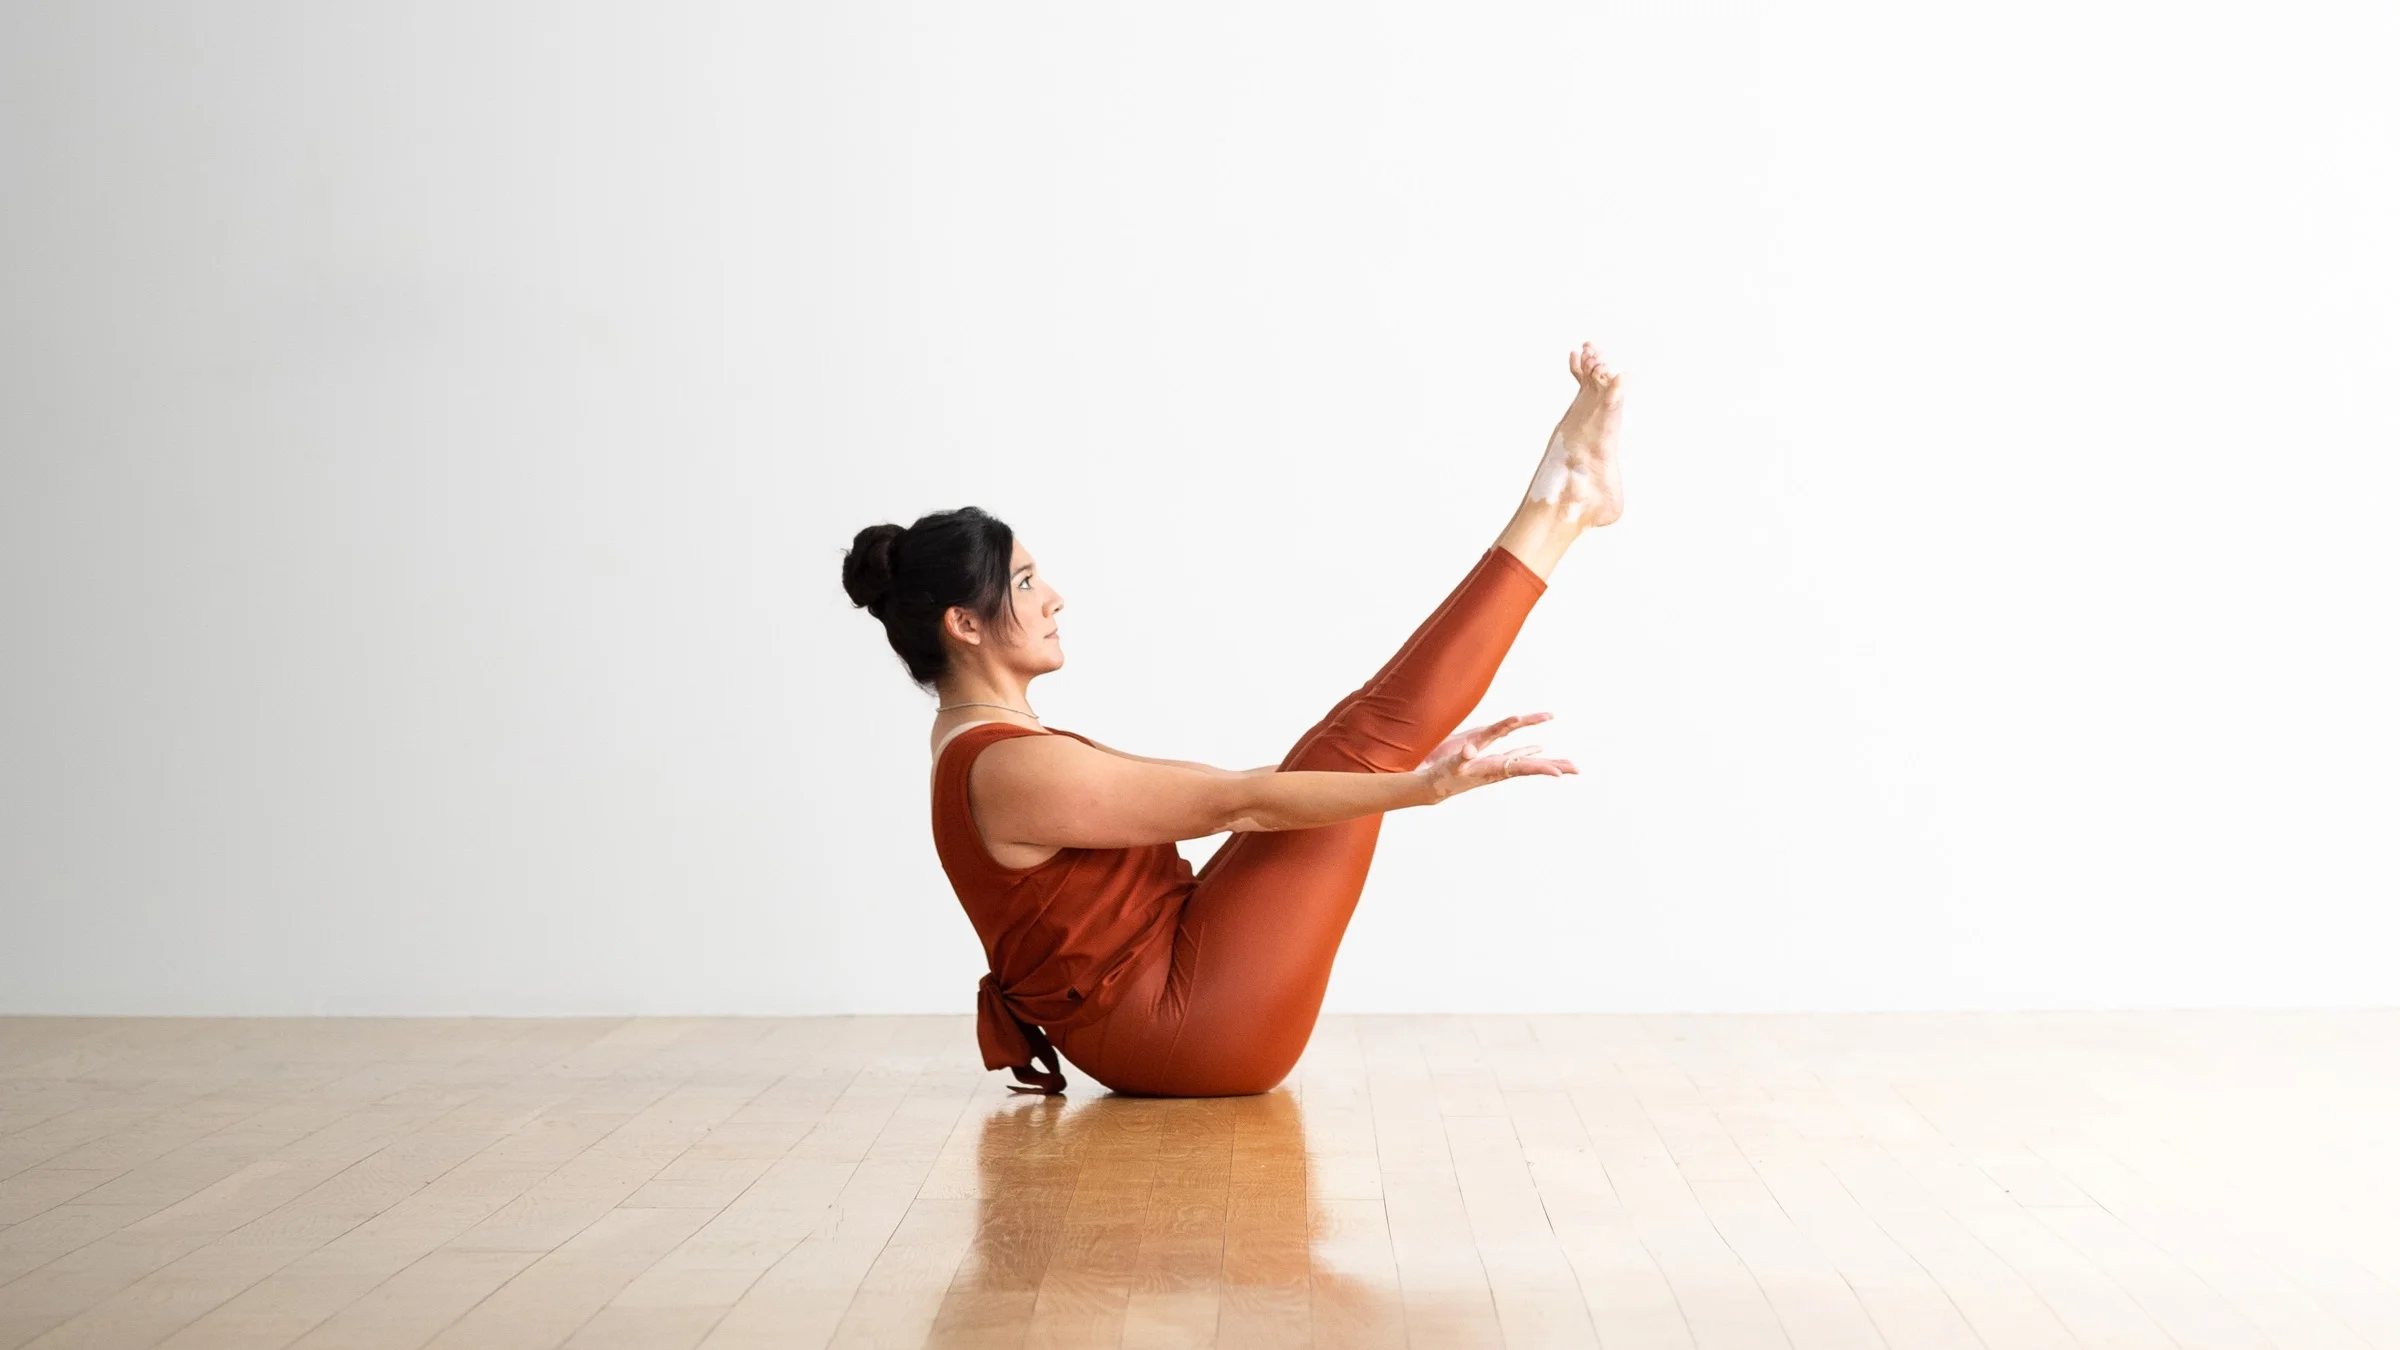
This pose works the core muscles, notably the transverse abdominis, and strengthens the hip flexors and upper back.

Begin sitting with your legs bent and your feet flat on the floor in front of you. Stretch the arms out to either side of the legs, palms facing up. Inhale and stretch the spine, raising the chest. Exhale and start moving the torso backward until you feel the back curve. Pause at that point and hold for three to five breaths, maintaining the strongest V-shape possible.

Lift the legs into a tabletop posture or straighten them completely to form a full V-shape, increasing the intensity of the pose.

4. Pigeon

Young woman practicing yoga, doing Head to Knee Forward Bend exercise, Janu Sirsasana pose, working out, wearing sportswear, black pants and top, indoor full length, gray wall in yoga studio

This pose effectively stretches the hip flexors, psoas, glutes, and outer hips. Variations also help you to open your chest and shoulders and stretch your quadriceps.

Begin on hands and knees. Bring the left knee to the outside of the left wrist, and place the shin on the floor, ankle toward the right wrist. The left shin is striving to go parallel to the upper border of the yoga mat. Slide your right leg back till you feel a nice stretch. Square your hips, and if they aren’t touching the floor, lay a yoga block, blanket, or pillow beneath them for support. Inhale and lengthen your spine. Exhale and walk your hands forward so that your chest moves near the floor. Hold for five to ten breaths, then switch sides.

To increase chest and shoulder openness, keep the hands close to the body and the torso upright. Lift the chest and rotate the shoulders down and back, away from the ears. To add a quad stretch, bend the left knee and reach back to grip the left foot with the left hand.
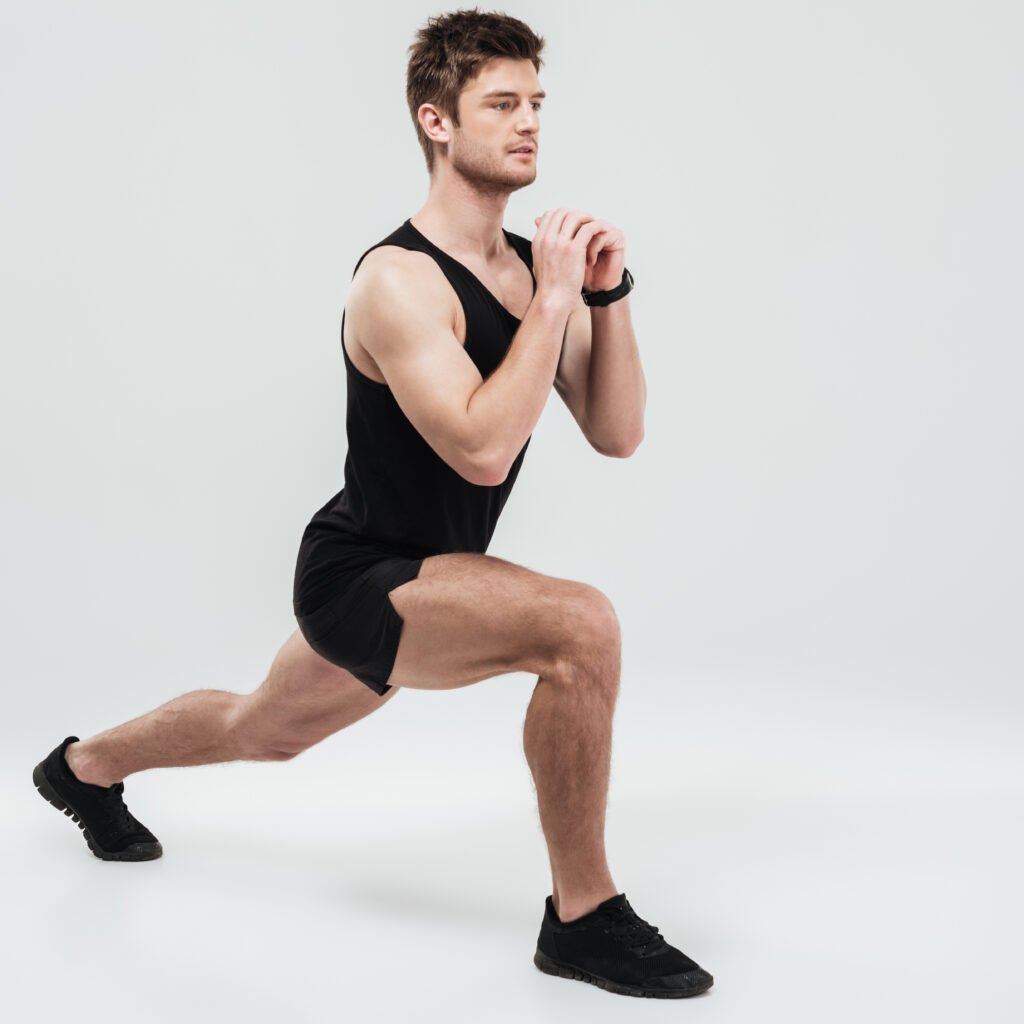
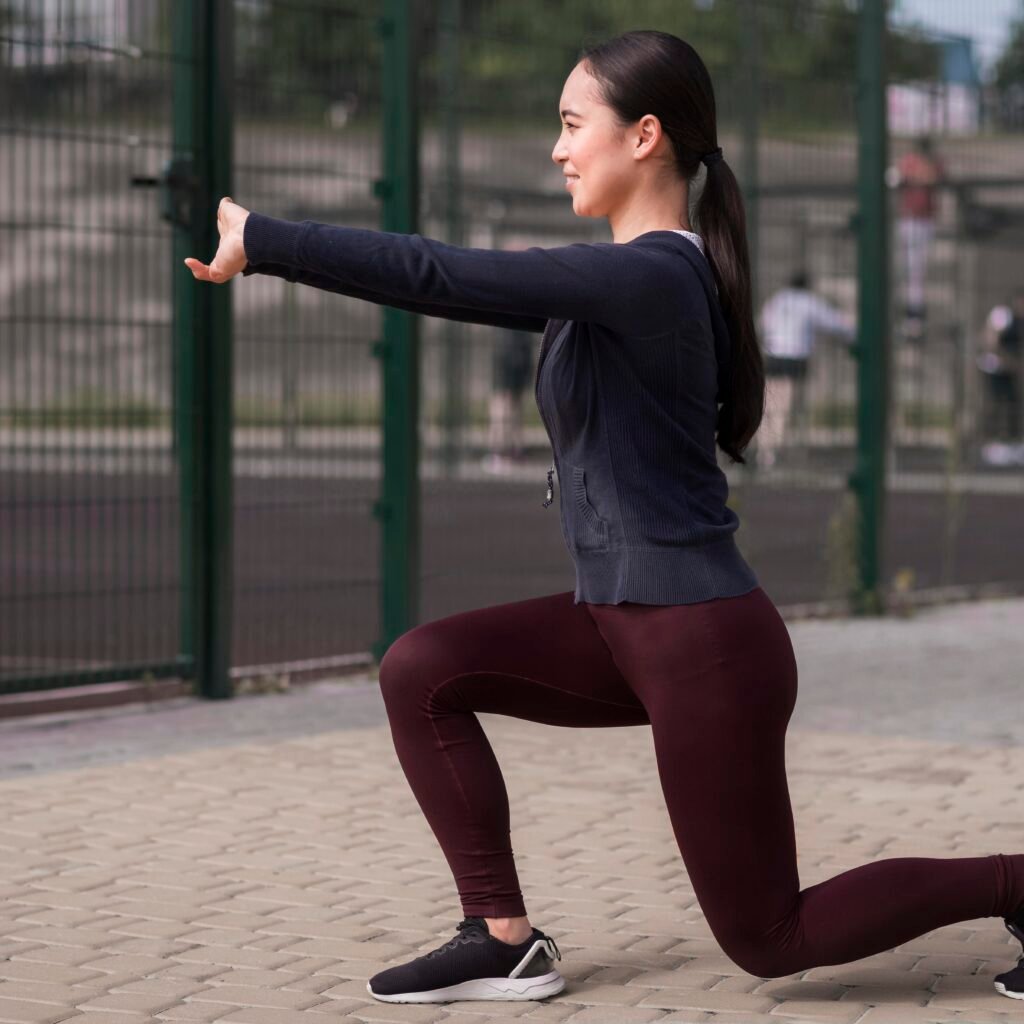
5. Twisting Lunge

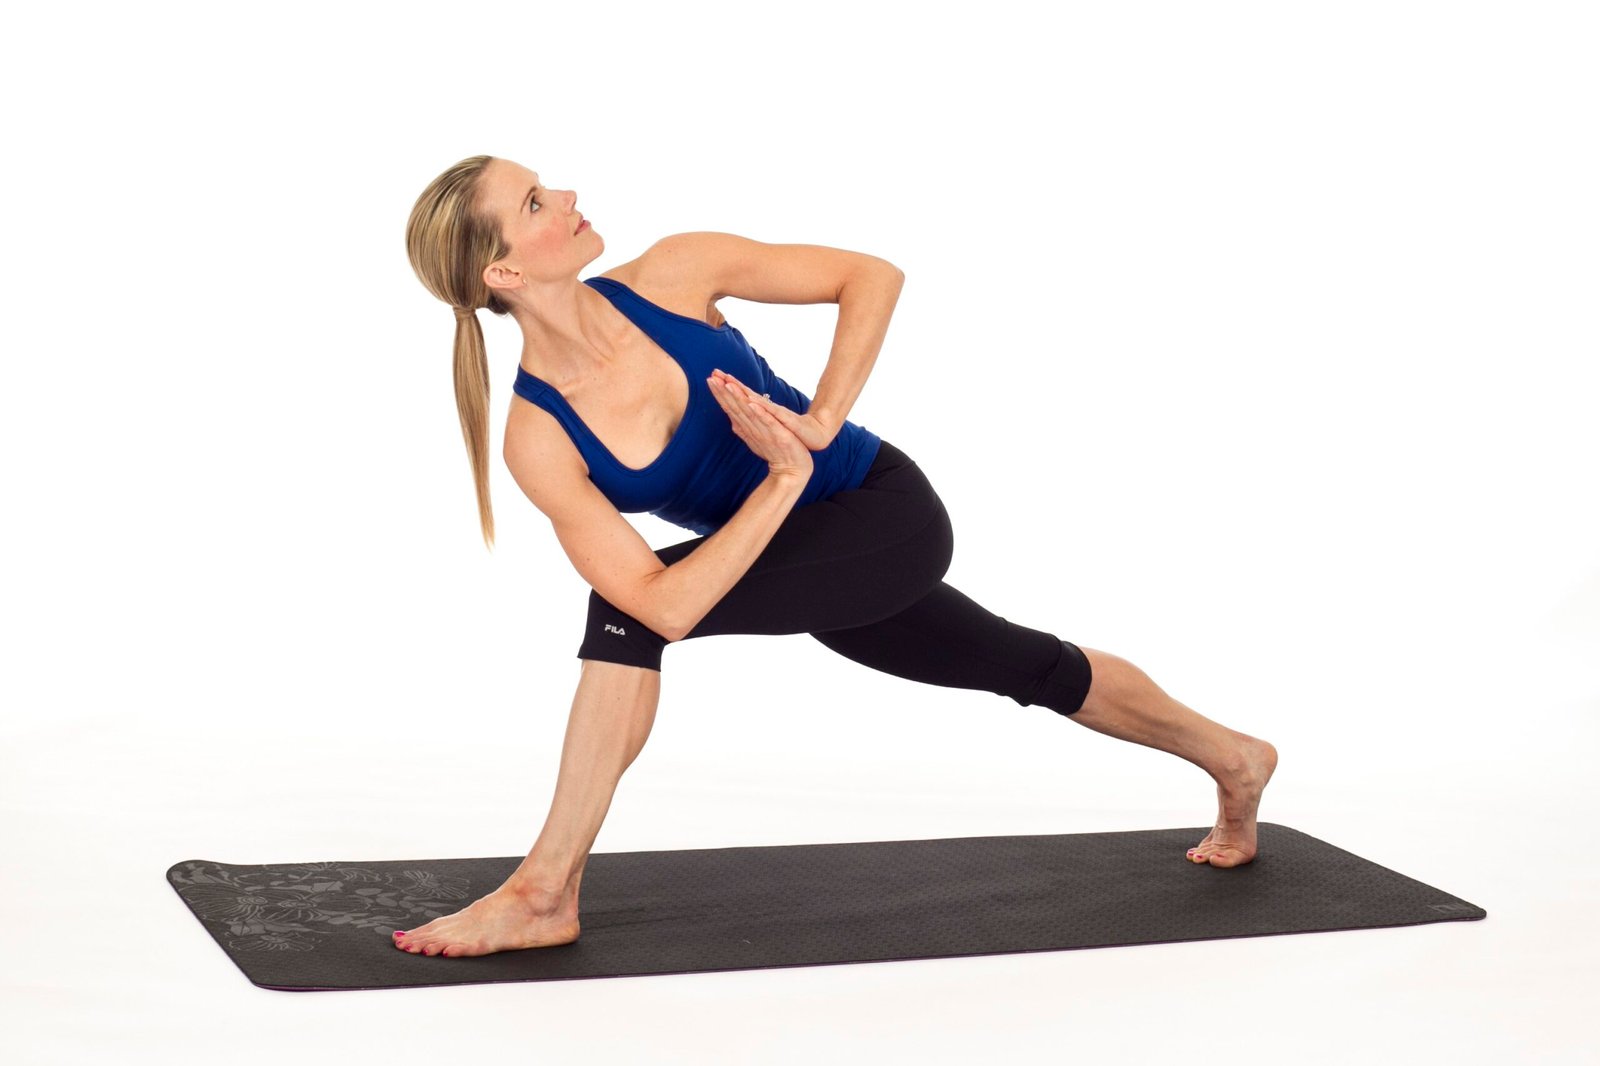
Twists are great for the spine. Twisting in a lunge helps to stretch and strengthen the legs and hips.

Step the left foot forward till it rests between your hands. Continue to move the left foot forward until you feel a good stretch in your inner thighs and hips. Allow the hips to drop toward the floor. Inhale, then sweep your left arm up toward the sky, opening your chest and shoulders. Wrap the left arm across the lower back to provide further shoulder openness. Hold for five breaths, then switch sides.

Pick up the rear knee for a stronger leg position that also tests your balance.

young-adult-doing-indoor-sport-gym

Should men and women train the same?

The distinctions in programming and approaches may no longer be as significant as you believe.

Men And Women Both Need: Intense Weight Training

The trainer in me believes it is critical for all of us—men and women—to exercise all of our muscles. However, the realist in me notes that the two genders prefer to concentrate their aesthetics-focused exercise in distinct places. Many guys work on their chests, arms, and shoulders, whereas many women concentrate on their legs and shoulders.

However, there is a distinction. Most of the males I see are willing to workout in order to build muscle mass, while many women are afraid of becoming “bulky.” This is ridiculous, given that women have around 100 times less testosterone than men. So please allow me to speak with women for a bit.

When you talk about “toning,” “enhancing,” or “shaping” specific portions of your body, you are actually referring to muscle. Muscle determines the contour of your body, thus more muscle equals higher muscular tone. Muscle is required to build anything perkier, rounder, or sexier.

To build muscle, you must stimulate muscle tissue, and that tiny pink dumbbell is simply not up to the task. Instead, women frequently benefit from the heavy lifting that they are more accustomed to seeing males do, according to Dr. Cassandra Forsythe, co-author of “The New Rules of Lifting for Women.”

“In terms of lifting, [women’s] rep range is often in the 8-15 range,” explains Dr. Forsythe. “However, many women would actually benefit from lower reps and more weight to hit muscle fibers that are only stimulated with those types of lifts.”

Need more incentive to lift large objects? Muscle is a metabolically active tissue, which burns fat. Simply put, more muscle leads to a higher metabolism!

Women Need Less: Direct Quad Work 

Everyone Needs: More Backside

Women are more likely to be quadriceps dominant than men. This is not a terrible thing; it is simply a question of anatomy. From a programming standpoint, however, it means that unless she is training for a physique contest or a sport that requires extremely strong quads, the normal woman probably does not need to practice isolated quad-focused exercises such as leg extensions on a regular basis.

What is the alternative? Limit your quad workouts to complex movements like squats and lunges. If you’re going to focus more on one section of the leg, make sure to strengthen the hamstrings as well to balance out the quad strength. Hamstring curls, good mornings, and deadlifts are excellent exercises for ladies.

This also applies to guys. Don’t forget about those glutes—they’re one of the most obvious indicators of a strong athlete. In reality, most guys could benefit from more focused lower-body strength training. Don’t be that guy at the beach wearing jeans to hide his chicken legs.

Women Need More, Men Need Less: Upper-Body Work

Ladies: If you’re seeking for a way to channel the energy you used to expend on the leg extension machine, Dr. Forsythe has an idea: start pushing and pulling.

“It’s well known that most women carry much less lean mass in their upper bodies compared to men, so exercises such as push-ups and pull-ups are a common weakness,” she explains. “It may be argued that women should devote more time to these exercises than males in order to enhance upper-body strength, which leads to higher self-esteem and a more attractive upper body. What female doesn’t feel great after doing full push-ups or pull-ups on her own?”

Men, on the other hand, are infamous for focusing solely on the areas of their bodies visible in the mirror and neglecting everything else.

Building up your chest and biceps is excellent, but strengthening your mid-back muscles will provide you better muscular balance, healthier shoulders, better posture, and a thicker, stronger physical appearance in general.

Men Need More, Women Need Less: Rest

You’ve likely heard that men have “more muscle mass” or “are stronger” than women. This has a solid scientific basis, but most people misuse the concept to make themselves look foolish (in the case of men) or as an excuse (in the case of women). However, there is a method to put this information to our mutual advantage.

“Women do tend to be less powerful than men due to several factors, such as lower muscle mass, lower lung capacity, and smaller hearts,” According to Dr. Forsythe. “However, their ability to recover from high-intensity activity is frequently better than men’s. This means that women will often require less rest time following an exercise bout or set, allowing them to return to the barbell or circuit sooner. So, training routines that need extensive rest intervals may bore a woman.

This does not imply that women should do more reps than males, but simply that they can typically endure more exercises in a given workout. A typical guy could benefit from longer, slower workouts in which he puts all of his effort into a single set and then rests, or by supersetting two strength exercises and then resting. His partner, on the other hand, might benefit more from practicing sets of mini-circuits with 3-5 strength exercises.

Of course, this is not true for every man or woman, but it is something to consider while planning your workout. Although men and women can and frequently do practice the same exercises, how we structure those activities has a significant impact on how much we enjoy our time at the gym. This can mean the difference between fitness success and failure, as it is well known that we are more likely to persist with something we enjoy.

Men Need More, Women Need Less: Yoga

There are many men who practice yoga, but let us not fool ourselves into thinking it’s anything close to a level playing field. This is unfortunate because yoga has numerous advantages that most guys may benefit from. For starters, it has the potential to improve joint range of motion in ways that heavy weight training cannot. It’s fantastic to be bigger and stronger, but it’s even better to be larger, stronger, and mobile. Plus, yoga is an excellent way to recover from strenuous strength workouts.

So, why am I advocating that women should do less yoga? I am not. I would simply urge them not to overlook strength training because the strength benefits of yoga are minimal when compared to free weights, cables, and machines. You can undoubtedly get stronger with yoga, but after you get past the beginner level, the muscular challenge comes from more difficult poses, which tend to push your mobility rather than overload any specific muscle groups. Furthermore, the sluggish pace of yoga can be balanced by doing shorter, more intensive strength-training sessions. There is no reason not to do both.

Also, consider why you do yoga. Many women have believed that yoga will result in “longer, leaner muscles.” Just to be clear, this is impossible. Here’s why.

All muscular tissue is lean. There is no such thing as “fat” muscle. And, no, muscle does not convert to fat or vice versa. Fat is fat; muscle is muscle. Your healthy diet and exercise habits determine whether you gain or lose weight.

Muscles are related to bones, thus lengthening your muscles requires lengthening your bones as well. Your muscles can shrink, expand, or remain the same size, but they cannot become longer.

Men And Women Both Need Less: Gender-Specific Exercises

If you conduct a fast internet search for body-part specific workouts for the glutes, arms, chest, and shoulders, you’ll notice that many of those terms are frequently followed by “for women” or “for men.” This is not an accident. After all, many people use those words in their searches.

However, there are no workouts specifically designed for males or women. There are only exercises. We are different sexes, but our bones, connective tissues, nerves, and muscle fibers are all comprised of the same raw material and work similarly. A conventional deadlift and a laying leg curl are not intrinsically male or female exercises. They’re both great hamstring workouts, and each has a specific purpose based on your goals, not your gender.

Do not be terrified of any certain machine or movement. You have access to the entire gym, so learn how to make the most of it.

On the edge of the box. Sportive young woman have fitness day in the gym at morning time.

Box jump progression for beginners

This form of plyometrics will enhance your workouts, warmups, and finishers.

How to do Box Jumps Like a Pro

Many new athletes struggle with box jumps. The dread of failing a jump and breaking your neck is very widespread. This self-preservation is why adults frequently avoid attempting potentially dangerous athletic feats: with age comes injury experience, which leads to a “risk-averse” mindset. If you never learned how to backflip as a child, you might dismiss it as an adult, saying, “eh, I don’t need to try that one.” “It might break my face.”

However, leveraging your body against gravity to jump up to a higher surface is an important aspect of being a leg-powered athlete. Most professional athletes, including NBA, NFL, and Olympians, train their vertical leap in some fashion. There is also a significant carryover to Olympic weightlifting. Top professional weightlifters have incredible vertical jumping power, which makes reasonable given that their whole sport revolves upon propelling the biggest weight possible from the ground to over their heads.

Plyometrics are jump training exercises that help you gain athletic power by teaching your muscles to deliver maximal force in short periods of time.

Enter: the plyobox.

As a coach, it’s exciting to see someone hesitate anxiously in front of a knee-high plyo box, clearly fighting their instincts and psyching themselves out to try the jump. They bounce around and pace in front of it, bending their knees and measuring the leap repeatedly.

When will they ultimately launch themselves and land successfully? It’s quite exciting. Cheers and high fives all around. It’s a significant milestone for anyone on a weight-loss or fitness journey.

When you first start out, keep in mind that you will never be completely certain that you can make the jump. Not until you commit to the scary part and successfully complete it.

Here are some time-tested and proven steps to help you get there.

How to build up your box jump

Step 1: Start with step-ups

The ideal place to begin is to practice your coordination and leg strength by stepping up and down one foot at a time onto a sturdy, elevated surface (such as a staircase). Consider pressing down through your foot on the box to establish stability throughout your entire body.

Remember, step-ups are a leisurely movement. They will develop your strength, but not the explosiveness or spatial awareness required to land a higher box leap. Take it slowly, but don’t stay on step-ups forever.


Step 2: Get your technique down

The crucial components here are the two-foot takeoff and landing. Bend your knees and sit your hips back (as if you were about to squat). Launch upward with your arms for velocity, float on top of the box, and land softly with your knees bent. Once you’ve reached the peak, stand tall.

The position you land in should be identical to the one you started in—hips higher than knees, at the beginning of a squat. Practice perfecting this form with every jump, no matter how small.

Step 3: Graduate to plate jumps

Begin with placing a 15lb rubber plate (solid, without holes) flat on the ground and jumping on top of it every day until it feels comfortable. Remember to practice your technique with each jump and land softly. It will eventually become second nature.

You can also use line hops (hopping left-to-right and front-to-back over a floor line) or jump-rope sets for additional jumping exposure.

Step 4: Slowly increase the height

When the 15-pound plate feels comfortable, lay a 10-pound plate on top of it and drill the new height. Continue to add height in modest increments until you reach a point where you cannot go much higher. Then work through the sticking spot and move on when it’s less daunting.

After stacking three or four 45lb plates, or reaching the height of a 20-inch box, it’s time to…

Step 5: Do it scared!

If you can jump onto a plate stack the same height as a plyo box, you should go for it. Use the plates to clear your mind before committing to the box. Your confidence will grow with each repetition.

You will probably never feel completely prepared to climb your first Mt. Everest. That self-preservation instinct will kick in, and you’ll find yourself staring at that gritty wood as if it were a platter of fried scorpions you had to eat to win a lot of money. Accept your fears and go for it nonetheless.

Step 6: Work on rebounding

Up until now, you should have been stepping down one foot at a time to get off the box or plate stack. However, there is a difficult technique known as rebounding that might help you improve your box jump skills.

To rebound from box jumps, jump back up onto the box as soon as your feet touch the ground, rather than stepping down. Rebounding might save time by speeding up your reps, but it requires practice and self-awareness to avoid faceplanting or tearing your Achilles.

Step 7: Try the tall box

When you’re comfortable with box jumps and have some genuine strength underneath you, try the 30-inch height. Do a few jumps adjacent to the tall box to get a sense of how explosive you must be to land on it. (Hint: super-explosive)

For really high leaps relative to your height, your body must soar into full extension before landing in nearly complete flexion. It’s similar to diving into a pool but striking the water in a cannonball. If you can jump onto a tall box, consider yourself a really talented athlete.

Prevent box jump injuries

We’re terrified of box jumps for a reason: you can damage yourself. Scraped shins, strained calves, and ruptured Achilles tendons are all possibilities, but the likelihood of injury increases if you become sloppy with your reps.

Avoid rounding your back, landing slowly, or, worse, stomping hard when you land. When you are exhausted, relax instead of attempting another jump and failing. If they’re accessible at your gym, use soft boxes instead of traditional wooden ones. If everything else fails, wear shin protectors.

If you pay attention to your body, avoid damage, and push yourself just enough, you can begin piling plates on a tall box and firing up onto them as if you were wearing a jetpack.

Concentrated look. Female cyclist with good body shape doing yoga exercises and stretching near her bike on beach at daytime.

5 Joint Mobility Exercises for Increased Flexibility and Function

Knowing which actions to make and when to make them can make a huge impact.

Do you want to be able to jump higher, run faster, and move pain-free? If you’re active and exercise consistently, the reason you’re not meeting your goals isn’t a lack of activity, but a lack of mobility.

Flexibility is your joints’ capacity to move through their whole range of motion without pain or stiffness. It also describes the flexibility of the muscles that support the joints. Flexible muscles and tendons provide a broader range of motion during activities.

You may enhance your flexibility through a variety of workouts, including stretching. Static stretching, which involves holding one posture for an extended amount of time, may be your preferred method of warming up before a workout.

According to a study published in the Journal of Strength and Conditioning Research, dynamic stretching, or stretching while going through an exercise, appears to be more effective than static stretching as a warm-up.

A 10-minute dynamic warmup before a workout has been associated to improved shuttle run time, medicine ball throw distance, and jump distance.

Try these five flexibility exercises to enhance joint flexibility and function, allowing you to move more freely and increase strength and performance during your next workout.

1.Ankle Mobility

Good ankle mobility leads to better balance, fewer falls, and improved performance during activities such as squats and deadlifts.

Equipment needed: none

Movement: ankle dorsiflexion and plantar flexion.

1.Stand tall beside a wall.
2.Place one hand against the wall for support.
3.Slowly rock forward on your toes, assuming a tip-toe position.
4.Slowly rock back onto your heels, elevating your toes off the floor.
5.Repeat ten times.

2.Walking hip openers

Your hip joint is a ball and socket that may move in all directions. Warming up the hips and surrounding muscles before beginning any activity is critical since they contribute significantly to balance and stability.

Equipment needed: none

Muscles used: glutes, hip flexors, hip extensors, hip abductors, hip adductors.

1.Stand tall, feet hip-width apart.
2.Plant your feet firmly on the ground and bring your left knee to your chest.
3.Create a circle with your left knee by bringing it up and across your body, then out to the side and down.
4.Place your left foot on the floor and repeat on the right.
5.Repeat ten times, then reverse the sequence by bringing your leg out to the side first and then across your body.

3. Thoracic spine windmills on floor

The thoracic spine runs down the center of your back, from the base of your neck to the end of your rib cage.

With good thoracic spine mobility, you can freely move your arms over your head and turn sideways. Poor mobility can cause shoulder pain, poor posture, and upper back pain.

Equipment needed: towel or foam roller.

Muscles used: core, upper back, spine stabilizing muscles, and obliques

1.Lie sideways on the floor.
2.Bend your knees and hips to just past 90 degrees, and place your knees alongside you on the floor.
3.Straighten your bottom leg and place your upper leg on a foam roller or a towel without changing positions.
4.Extend both arms along the floor, straight out in front of your body. They should be piled, palms together, at shoulder level.
5.Slowly lift your upper arm and rotate it away from you, exposing your chest to the ceiling. Rotate your head and trunk so that your hand is on the opposite side of your body, if possible.
6.Hold this stance for three seconds before slowly bringing it back to touch your other hand.
7.Repeat five times on each side.

4.Shoulder pass-through

Many people have chest and front of shoulder tightness as a result of poor posture. Warming up your shoulders before an exercise might help you improve your form and avoid injuries.

Equipment needed: broomstick or PVC pipe.

Muscles used: rotator cuff, anterior deltoid, chest, and upper back

1.Stand with your feet shoulder-width apart, holding a broomstick parallel to the ground. Use an overhand grip, keeping the bar as broad as possible.
2.Keep your arms straight and slowly elevate the broomstick above your head. Keep your core tight to maintain proper posture and balance.
3.Bring the broomstick behind your head as far as you can. Hold for 2 seconds then return to the starting position.
4.Repeat five times..

5.Neck half circles

Neck mobility is commonly overlooked, despite its relevance in everyday activities. Poor neck movement can cause discomfort and difficulties in the neck, head, and upper back.

Equipment needed: none

Muscles used: neck flexors and extensors, trapezius.

1.Sit or stand comfortably, hands on lap.
2.Tilt your head to one side to feel a stretch. Roll your head forward slowly, bringing your chin to your chest as far as possible without causing pain.
3.Continue to turn your head to the other side until you feel a stretch on the opposite side of your neck.
4.Make three half-circles, moving slowly and smoothly throughout.

Precautions

Always check your doctor before beginning a new exercise routine. Dynamic warm-up and range-of-motion exercises may not be suitable for everyone, particularly those who have had past injuries or joint replacements.

If you’re unsure whether you’re performing these exercises correctly, consult a qualified practitioner, such as a physical therapist.

close-up-man-doing-crossfit-workout

5 Benefits of Kettlebell Training

Science confirms that swinging a kettlebell is an effective technique to achieve your goals.

Whether you are a beginner or an experienced strength trainer, there are numerous reasons to incorporate kettlebell swings into your regimen. These dynamic exercises employ free weights to build strength and increase stamina. Furthermore, kettlebell swings can be a fun and effective change of pace from traditional dumbbell or barbell training. Learn the benefits of kettlebell swings and how to perform them correctly so you can incorporate them into your next workout.

What are kettlebell swings? 

Kettlebell swings are strength-training exercises that, predictably, use a kettlebell. A kettlebell is a weight made of cast iron or steel that has a flat base and a grippable handle. It looks like a cannonball with a handle, or a tea kettle. Hence the name.

What muscles do kettlebell swings work?

The total-body motions entail grasping the weight bar with both hands and swinging it up to chest height generating explosive power from the hips and thighs. A normal or Russian kettlebell swing works several muscles, including:

Shoulders, or deltoids
Back (trapezius, rhomboids, erector spinae)

Hips (Glutes)
Legs (hamstrings, quadriceps, calves)

5 Benefits of kettlebell swings

The CDC recommends that individuals do at least two strength-training activities per week. As you become older, this becomes increasingly vital. Maintaining muscular mass has been related to a longer lifespan, improved mobility, and general health. Kettlebell swings are an excellent approach to achieve your strength-training and other health goals.

Here are the top eight benefits of kettlebell swings.

1. Increase muscle strength 

Kettlebell swings are quite good for increasing muscular mass. In a 2013 study, the American Council on Exercise (ACE) examined their advantages. Young adults trained for one hour with kettlebells twice a week. After 8 weeks, researchers saw increases in participants’ leg and core strength. They also reported improvements in their dynamic balance.

Another study discovered that kettlebell training can help older women with age-related muscular loss. They had higher lung function, as well as improved back and handgrip strength.

2. Improve heart health

The full-body activity of a kettlebell swing increases heart rate, which can improve aerobic fitness. In the 2013 ACE trial, kettlebell training increased participants’ aerobic capacity by approximately 14%. This is wonderful news for your heart. Higher aerobic fitness levels are linked to a lower risk of cardiovascular disease

3. Reduce your workout time

Kettlebell swings allow you to tone different muscular groups while also burning calories quickly. This can shorten your workout time and help you achieve your fitness objectives sooner. Another ACE study, for example, monitored volunteers as they swung kettlebells. Researchers discovered that the average calorie burn was an amazing 270 calories in just 20 minutes.

4. Support healthy weight loss

Strength exercise burns calories and builds lean muscular mass. These benefits can help to maintain a healthy metabolism and encourage weight loss. According to research, kettlebell swings are particularly good in burning calories and building muscle that boosts metabolism.

5. Build functional strength

Kettlebell swings include multidirectional movements that mimic ordinary actions like bending down. Over time, this can help you gain more functional strength and flexibility. These enhancements make ordinary tasks like sitting down and carrying shopping bags easier.

full-shot-man-stretching-outdoors

6 Warm-up Exercises to Boost Your Workout

Despite knowing how crucial it is, many of us are unsure how to prepare effectively.

If you’re short on time, you may feel tempted to skip a warmup and jump right into your workout. But doing so can increase your risk of injury, and put more strain on your muscles.

When preparing for any kind of exercise, whether it’s a cardio workout, strength training, or a team sport, it’s important to take a few minutes to ease your muscles into exercise mode. Doing so can help you reap many fitness rewards.

Here’s a look at the benefits of warming up and examples of warmup exercises that you can try before kicking your workout into high gear.

What are the advantages of warming up before a workout?

Warmup exercises can help your body prepare for more intense activity and make it easier to work out. Some of the most notable benefits of a warmup are:

Increased flexibility. Being more flexible allows you to move and exercise more efficiently.


Reduced risk of danger.
Warming up your muscles allows them to relax, which leads to fewer injuries.Trusted source.

Improved blood flow and oxygenation. More blood flow permits your muscles to get the nutrients they need before engaging in more rigorous activities.

Improved performance. According to research, warmed-up muscles can help you exercise more effectively.

Better range of motion. Having a broader range of motion allows you to move your joints more freely.


Reduced muscular tension and soreness
. Warm and relaxed muscles may allow you to move with greater ease and less discomfort or stiffness.

What is dynamic workout?

You may have heard about dynamic warmups and static stretching and wondered how they vary and when to use them.

A dynamic warmup is performed at the beginning of your training regimen. It is intended to prepare your body to work at a higher level.

A dynamic warmup focuses on movements that are comparable to those you will perform during your workout. You can stretch with action, such as lunges or squats, or with light movements, such as riding a bicycle or jogging.

Dynamic warmups can help you gain strength, mobility, and coordination, all of which will help you perform better during your workout.

What is static stretching?

Static stretching is most useful near the end of your session. It comprises of long-held stretches designed to lengthen and release your muscles and connective tissue. This differs from a dynamic warmup in that you keep your body stationary.

Static stretching can improve your range of motion and flexibility. Examples include:

Stretch your triceps and hips. Flexor stretches and laying hamstring stretch.

Warmup exercise

You can do a sport-specific warmup or try the warmup exercises below, which contain a variety of activities. These exercises, taken together, can assist prepare your muscles for the majority of workouts.

You can begin gently with a simpler version of each exercise before progressing to a more difficult part of the movement.

Squats

Squats are a flexible exercise that works numerous muscles in your lower body, including the quads, hamstrings, and glutes.

To make the first few squats easier, go down halfway. Then, gradually raise the difficulty until the final few repetitions are complete squats.

Once you’ve warmed up, you can increase the intensity by gripping weights during your squats.

To perform a squat:

1.Stand with your feet hip-width apart, and turn your toes slightly forward or out to the side.


2.Engage your core, maintain a straight back, and slowly lower your hips until your thighs are parallel to the floor.

3.Pause briefly with your knees above, but not beyond, your toes.


4.Exhale and get back up.


5.Perform 1-3 sets of 12-15 reps.

Planks

Portrait of a concentrated young sportsman doing plank exercise on a fitness mat isolated over white background

Planks are a terrific warm-up for developing core and back strength, as well as improving balance and alignment.

Once you’ve warmed up, try variants like the forearm plank and side plank.

To perform a plank:

Get into a push-up position. If you’re a beginner, start with a plank on your knees. If you’re more advanced, attempt a plank on your forearms. If you’re somewhere in the middle, try executing a high plank with your arms completely extended.
Keep your hands and feet firmly planted on the ground. Keep your back straight and your abdominal muscles taut. Do not let your head or back drop downward.
Hold your plank for 30 seconds to a minute.

Side lunges

Photo of attractive sporty woman with pony tail, perfect figure, does stretching exercises on mat, wears casual top, leggings and trainers, poses against grey concrete background. Healthy lifestyle

This workout targets the lower body and can help strengthen your legs, glutes, and hips. You can make the first few lunges simpler by merely going halfway down before progressing to the complete lunge.

After warming up, you can increase the challenge by performing a set with weights or opposite hand reaches.

To perform a side lunge:

Stand with your feet hip width apart.
Step your left foot to the left and press into your right foot.
From here, squat down with your left leg bent and your right leg straight.
Pause briefly with your left knee above, but not beyond, your toes. Lift your hips and bring your left foot back to the starting position.
Make a lunge to the right side. This is 1 rep.
Do 1 to 3 sets of 8 to 15 reps.

Pushups

This traditional exercise targets the upper body, core, and glutes. To make it easier, do pushups on your knees.

After you’ve warmed up, you can raise the difficulty by pausing in the lower position for a few seconds.

To perform a push-up:

1.Position yourself in a high plank position at the peak of a pushup, palms flat on the ground and hands shoulder-width apart. Maintain a posture with your shoulders higher than your hands. Your back should be flat, and your feet should be arranged behind you. Keep your abs pushed in.

2.Slowly drop your body down to the floor. Do not allow your torso or back slump. Your elbows may stretch out when you perform this exercise.
3.When your chest or chin is almost touching the ground, push up and straighten your arms. Keep your elbows slightly bent to prevent hyperextension.
4.Perform 1 to 3 sets of 8–12 repetitions.

Triceps warmup

This exercise consists of numerous exercises that will help loosen and warm up your triceps.

To perform a triceps warmup:

Extend your arms out to the sides, parallel to the floor, palms facing down.
Keep your arms straight and rotate in backward circles.
After 20-30 seconds, rotate your arms in forward circles.
After 20 to 30 seconds, rotate your palms to face forward and pulse your arms back and forth.
After 20 to 30 seconds, repeat the pulsating motion with your palms facing backward, upward, and down.
Perform 1–3 sets of these motions.

Jogging leg lifts

Jogging leg lifts can increase your heart rate and enhance circulation throughout your body.

Depending on the space provided, you can jog in place or run back and forth. Perform each component of this exercise for 30 seconds to one minute. You can make this exercise less intense by walking at a slower pace.

To perform running leg lifts:

Jog at a slower pace.
After about a minute, jog with your knees up toward your chest for at least 30 seconds, or jog with your feet raised near your buttocks.
Return to jogging slowly.

How long should a warmup last?

Try to warm up for at least 5 to 10 minutes. The more difficult your workout, the longer your warmup should be.

First, focus on broad muscle groups, followed by warmups that replicate some of the motions you’ll be doing while working out. For example, if you plan to run or bike, start at a modest pace to warm up.

The bottom line

Warmup activities, while sometimes disregarded, are an essential component of every training plan. Before you begin your workout, your body requires some form of physical activity to warm up its muscles.

Warming up can improve your flexibility, athletic performance, and lower your risk of injury.

You can either perform slower versions of the motions you’ll be doing during your workout, or you can try a variety of warmup activities, such as those listed above.

If you’re new to fitness or have a medical condition or health concern, see your doctor before beginning any new workout regimen.

medium-shot-girls-teacher-gym

3 Ways Mobility Training Improves Athletic Performance

You can’t make the progress you want if you can’t move properly.

Mobility training is the use and capacity to actively move a joint (where two bones connect) before it is restricted by surrounding tissues (ligaments, tendons, and muscles). Mobile joints include ankles, hips, the thoracic spine, and shoulders

Performance relates to how well your body can execute physical tasks, such as lifting weights, jogging, or executing any athletic movement. It is about using or developing your strength, endurance, speed, and agility to outperform your opponent or reach your fitness goals. It includes the ability and capacity to push one’s limitations, recuperate quickly, and constantly enhance one’s physical prowess.

Mobility is one tool in your toolbox for improving performance, whether at the bar or on the court

We’ve all seen someone with incredible physical abilities dunk basketballs, catch touchdowns, and squat 500 pounds without breaking a sweat. For those of us who are not so genetically gifted, consistent training is a minor but important approach to improve our performance. Mobility drills are frequently used as warm-up exercises prior to hitting the weights or the battlefield.

However, including regular mobility work outside of your normal routine could be a game changer. Below, we’ll look at why mobility training is important for performance and present an example mobility practice that you can simply adopt into your free time. It’s time to elevate your performance with mobility training.

WHY MOBILITY IS IMPORTANT FOR PERFORMANCE

Improved mobility allows you to move over a larger range of motion without muscle stiffness, which dramatically improves your performance. It is essential for performance, not only for succeeding in your sport, but also for staying in the game for longer periods of time without injury and recuperating faster after a strenuous workout. Let’s look at why mobility is an important part of performance.

IMPROVED SPEED

In sports, the ability to change directions quickly without losing speed or agility is critical. Less muscle stiffness leads to smoother, more effortless movements. Improved mobility can increase your agility and sports performance. Steph Curry “breaks” his opponent’s ankles on a drive to the hoop, demonstrating the benefit of mobility in motion.

It keeps you in the game for longer.

Limited mobility can drive your body to perform compensating motions, which can contribute to injury. When one joint’s movement is limited, other bodily parts step in and carry the increased weight. This compensation, over time, can cause discomfort and injury. For example, if your thoracic spine lacks the mobility and strength to perform deadlifts, your lower back will round to hold the weight, generating unnecessary lower back strain.

Understanding and correcting these difficulties through training can result in happier lifting and movement.

Furthermore, every time you run, lift, leap, or change direction, you put stress on your joints and muscles. A joint that can move across its whole range of motion (ROM) absorbs more force, making it safer and more efficient.

GET BACK ON THE PITCH FASTER

Recovery is where the magic happens, and mobility work is essential for speeding up the process and getting you back in the game sooner. By including mobility exercises into your off days, you are actively fostering greater blood flow to your muscles, rather than simply going through the motions. This enhanced flow helps to provide vital nutrients and oxygen to your muscles, promoting repair and growth.

By lowering muscle tension with focused exercises, you can assist flush out metabolic waste and toxins that accumulate during and after strenuous workouts. Improving mobility reduces muscular soreness and stiffness, allowing you to recover faster and return to exercise with less downtime.

Imagine hitting the gym hard, knowing you’ve done everything necessary to help your recuperation. With improved mobility, you can train more frequently and at a higher intensity for better results.

SAMPLE OFF-DAY MOBILITY ROUTINE

To increase your performance, first walk or hop on a cardio machine for five minutes to get the blood going. Then, follow this basic full-body mobility workout.

1A: Elevated ankle Dorsiflexion Stretch for 30 seconds or longer on each ankle.

1B. Dynamic Half Kneeling Hip Flexor Stretch: 30 seconds to one minute each side

1C. Passive Leg Lowering: Perform 10-15 repetitions per side.

1D. Quadrupled Thoracic Rotation: 8-12 repetitions per side.

1E. Cat-Cow Stretch: 10-15 repetitions.

1F. Spiderman Lunge & Reach: 6-8 reps per side.

Run through one to two times, making two to three circuits.