Improve your ab exercise with this tough move.
When it comes to planks, not all varieties are made equal, and the “Copenhagen plank” focuses your inner thigh muscles and core. If you want to get more bang for your buck with your next plank finisher, this is the activity to incorporate into your program. Read on to learn how to do a Copenhagen plank, the advantages, and typical pitfalls to avoid while doing the exercise for the first time.
What is the Copenhagen plank?
The Copenhagen plank is one of the most difficult plank variations available, and for good reason: it will make your entire body tremble. It’s an undervalued workout that you’ve probably never tried, but unlike commando planks, you’ll work your lower body just as hard here.
The exercise was named after study conducted in Denmark that revealed it helped athletes avoid groin pulls. Our hip adductors, or inner thigh muscles, are weak and susceptible to injuries during activity. The researchers discovered that this exercise improved the adductors, and while nothing can fully prevent groin strains or pulls, Copenhagen planks appeared to aid.
How to do a Copenhagen plank
Let’s start by learning how to execute a Copenhagen plank with proper form. For this workout, you’ll need a bench, box, chair, or step; be sure the surface is sturdy and strong enough to hold your weight.
This exercise will need you to lie on your side, similar to a side plank, so you may want to utilize one of the finest yoga mats.
Lie on your left side, with your elbow beneath your left shoulder. Your legs should be extended out and away from your torso, with your right arm elevated to the ceiling.
Place your right shin on the bench while your left toes rest on the floor.
Engage your core by sucking your belly button in towards your spine, and lift your hips and legs off the ground. Your left foot will support your body weight.
Lift the left foot off the ground until it hovers a few inches below the right foot while still resting on the bench. Hold here for as long as you can, keeping your abs engaged and your eyes forward.
The closer you are to the bench, the easier this exercise will be; if you’re a complete newbie, begin with your upper knee bent and your calf entirely rested on the bench. As you gain strength, proceed down your leg until only your foot is resting on it.
Once you’ve mastered the Copenhagen plank, you may increase the difficulty by bending your bottom leg and driving your knee up towards your body. Alternatively, hold a weight in your top hand, lengthen the plank, or hang your top foot in a TRX trainer rather than a bench.
What are the benefits of a Copenhagen plank?
As previously said, this exercise is excellent for strengthening your hip flexor muscles, which can become tight if you spend a lot of time sitting behind a desk (here are 7 of the best exercises to do if you sit all day) or participate in sports such as jogging. These muscles are necessary for everyday duties such as stepping to the side when someone approaches you and stabilizing your pelvis while you move.
Of course, like with all of the finest plank variations, your core is working really hard to stabilize your body, particularly your oblique muscles, which run along the side of the body. A strong core is more than simply an aesthetic aim; it helps you walk with better posture, run quicker, lift bigger weights, and avoid lower back issues. If you want to create visible abs, you must consider your body fat percentage – here’s how to calculate it and why it’s important.
The Copenhagen plank, like side planks, exercises one side of the body at a time—a unilateral exercise. This can be useful in addressing muscle imbalances in the body, as whether you’re a cyclist or a runner, you’ll typically have one stronger side of the body. Muscle imbalances can lead to injuries, so if you discover Copenhagen planks are much difficult on one side, you should focus on strengthening that side of your body.
This exercise also helps you improve your shoulder stability. To make things even more difficult, place your hand flat on the ground rather than your elbow.
What are the common form mistakes to look out for?
SHOULDERS ROTATING FORWARD
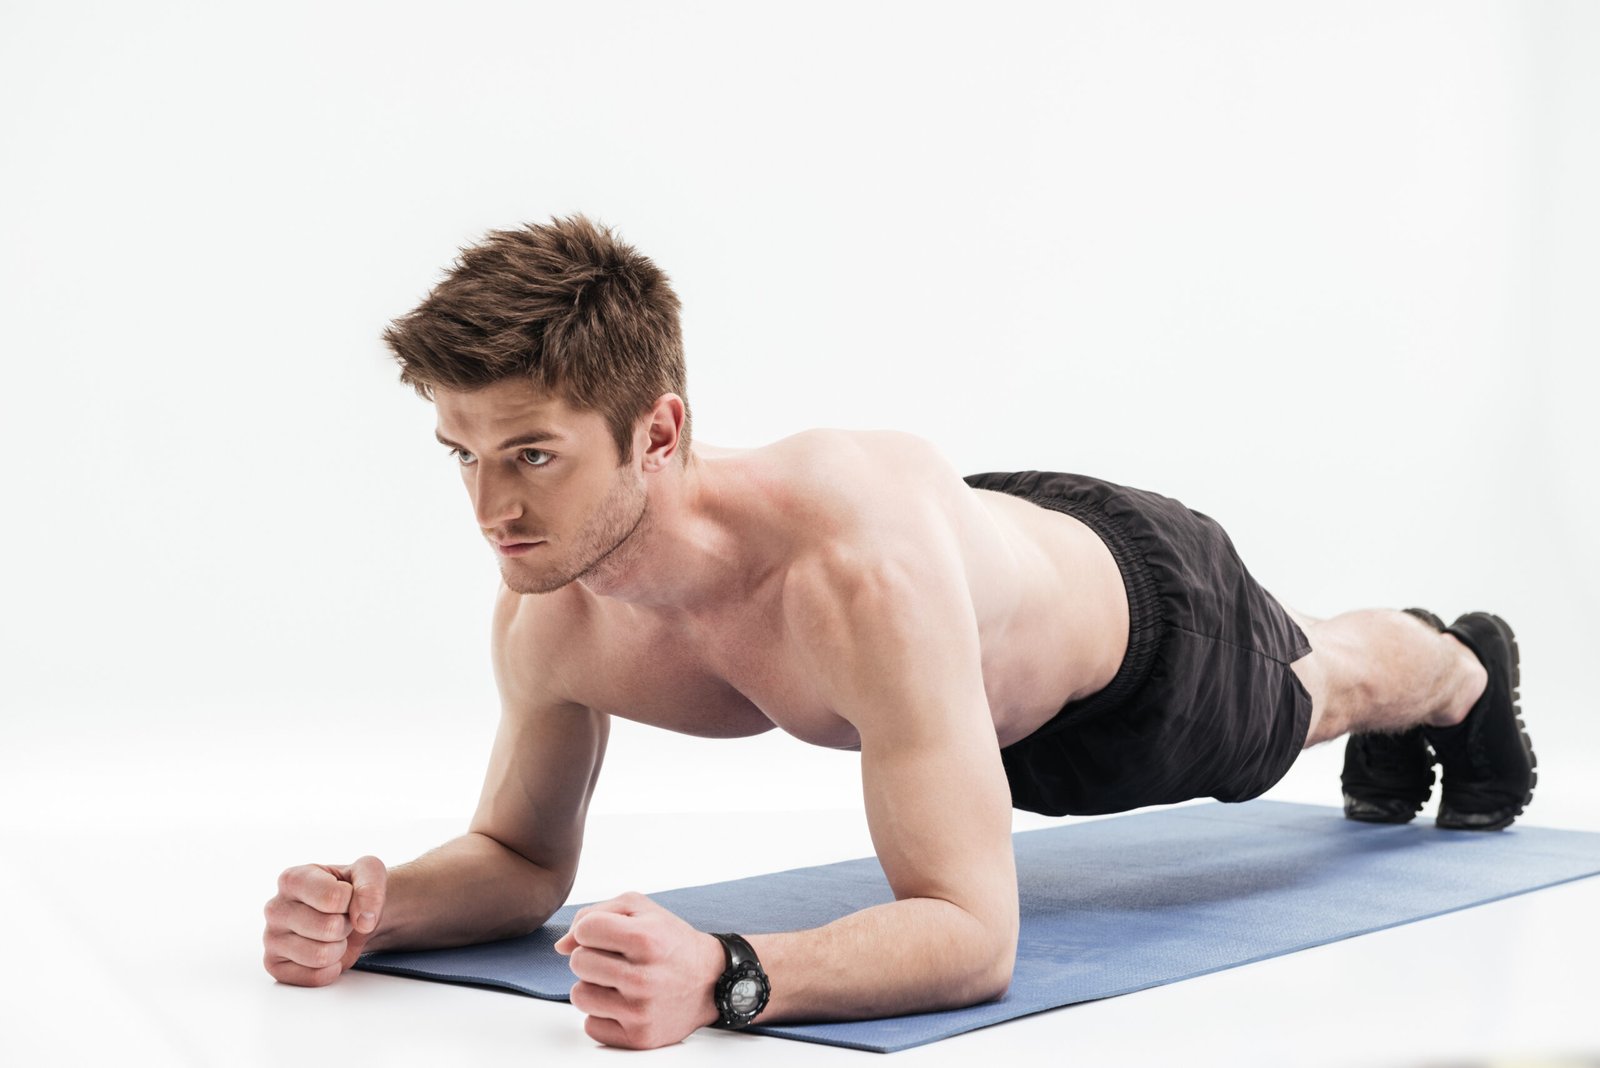
Maintaining your trunk stability is one of the most difficult aspects of this movement. Take care not to allow your shoulder rotate forward. Consider maintaining your core, glutes, and back engaged while holding the plank, as if you were resting against a wall.
LETTING YOUR HIPS DROP
Another mistake is allowing your hips to slide back to the floor when in the plank position. Again, keep your core engaged and maintain a straight line from your head to your feet. If you find your hips falling, pause and reset so you don’t put strain on your lower back.


